About
Customer creation from CRM module
-
To create a customer
Configuring POS
-
Selecting POS from drop down
-
Validating the POS start session
-
Choosing customers in POS
-
Select multiple quantities of same product
-
Select category wise product
-
Applicable discounts and taxes
About
-
For any retail business, the process flow of point of sale starts with the sales orders. Our Point of sale is a custom built module that has features which are essential for any growing retail.
-
Daily sales of products, picking, delivery of the products and invoicing are the main features of this module.
-
In and out of the cash is being maintained using Cash Registers.
-
Each cash register is created based on the Cash / Bank Journals so it will make easier to create journal entries and thus we can keep track of all accounting entries in appropriate accounts.
Customer creation from CRM module
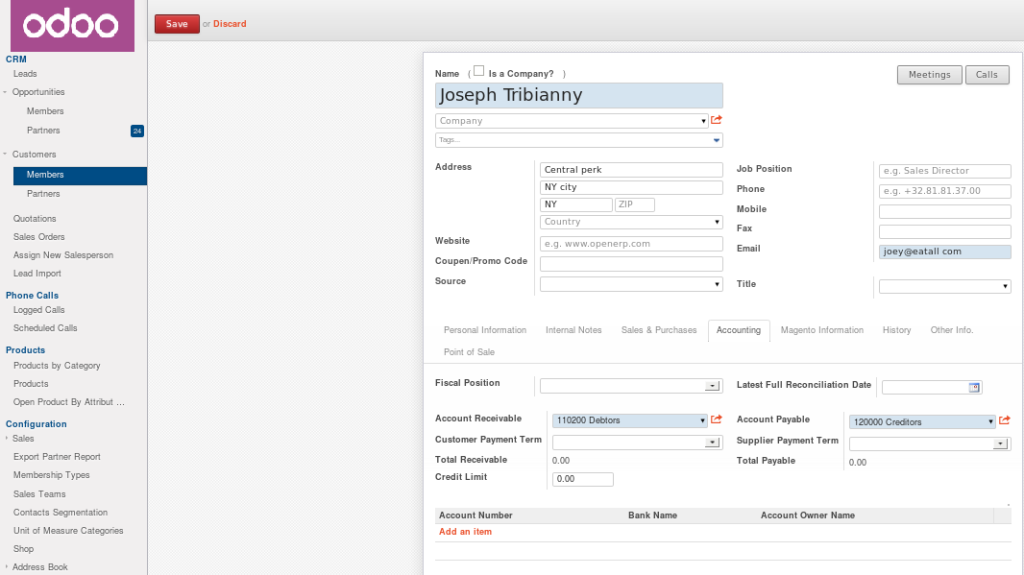
To Create a customer
-
Go to CRM module –> for customer and individual customer we will see a form view.
-
In the customer form, the system asks for mandatory fields such as Name, Email, receive messages by Email and Account details.
-
All created customers are funneled into Leads followed by Opportunities that will be categorized under respective customer type.
-
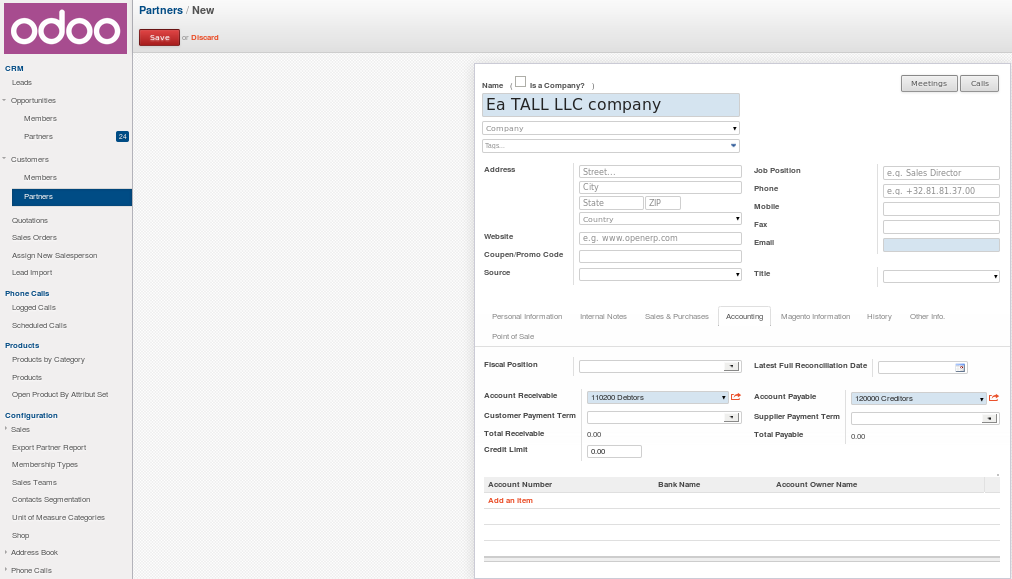
Below screenshot depicts the fields to be entered with company details.
Configuring POS
-
Mandatory fields to be set for a POS are POS name, Shop.
-
All the below listed configuration will enable user to intervene when there is cash imbalance and discount levels are applicable.
-
All the product categories that are defined as available at POS are given a tax name and rate to be placed on price of the product.

-
The shown button above, the screenshot depicts a user can ask the particular POS to stop taxing for the particular product category anytime.
-
User can also nullify all the taxes pertaining to all the categories anytime by clicking on no taxes button.
Selecting POS from drop down
-
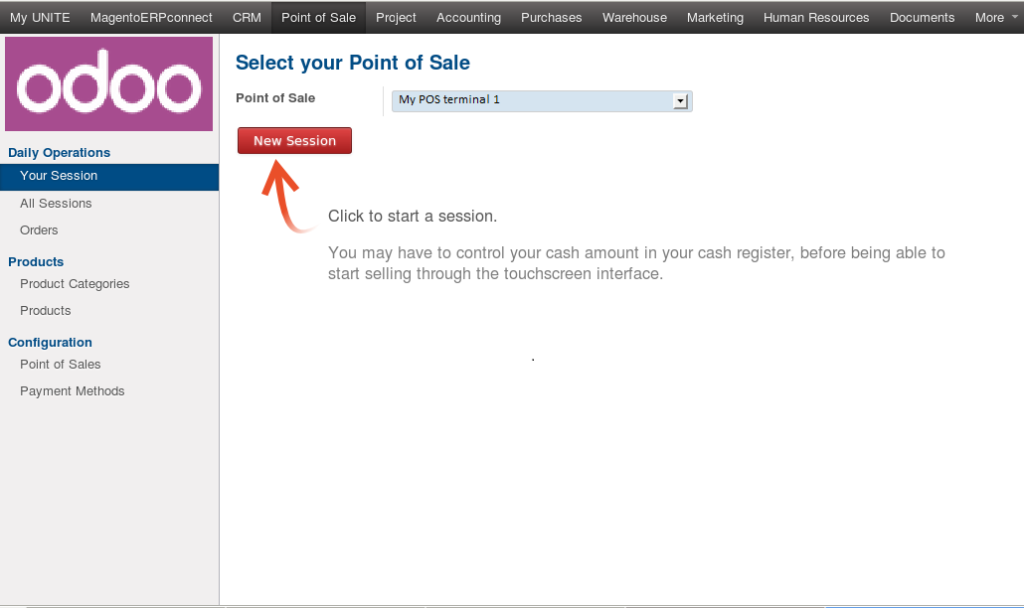
User can select a POS → ‘your session’ to open a new session by clicking on New session .
-
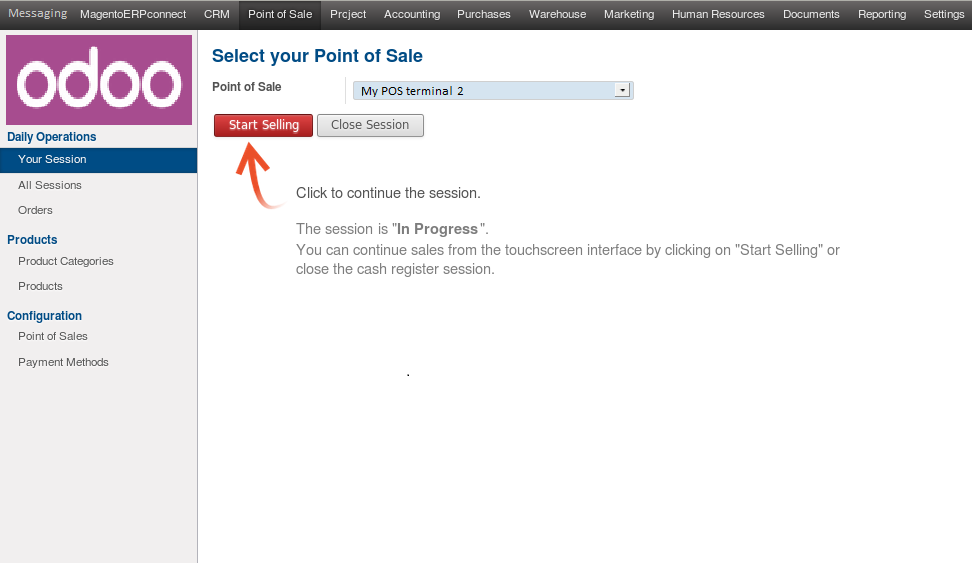
One can also continue a session by clicking on Start selling and click on Close session to close a running session.
-
These are the three buttons that are going to appear under the option ‘Your session’.
Validating the POS start session
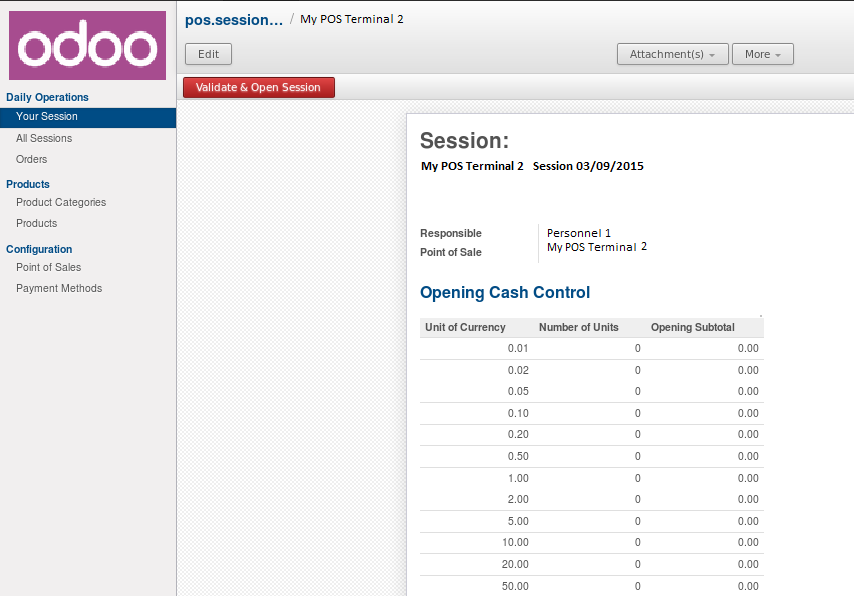
Before a session gets started all the available cash in the cash counter needs to be updated as per the particular denomination and the quantity available.
-
This gives an option to adjust the refilling of coins and Notes of different denominations.
-
Keep track over profit earned everyday.
-
Validate previous day closing and new day opening balance.
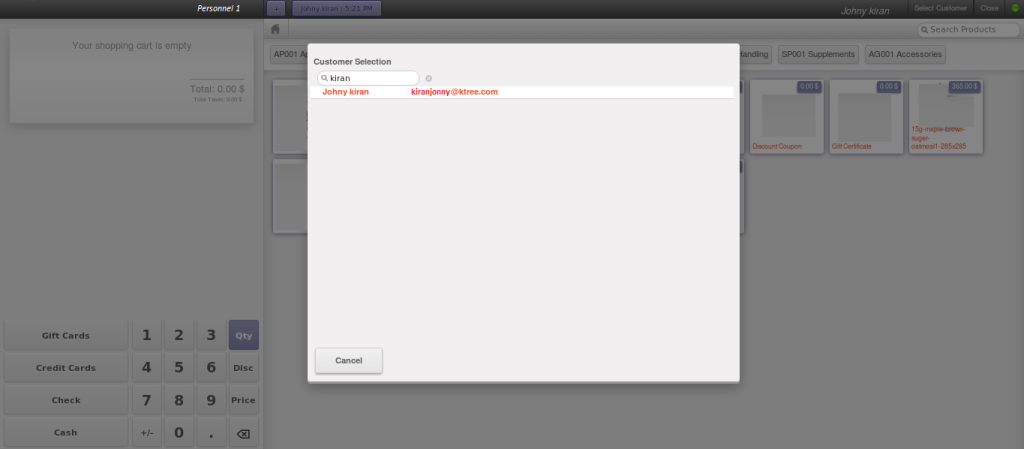
Choosing customers in POS
-
In the right side top search bar POS user can search customer and tag with a receipt.
-
User can also utilize email ID or Phone numbers as quick search.
-
This will enable the user to tag discount rates with the customer enjoying membership subscriptions.
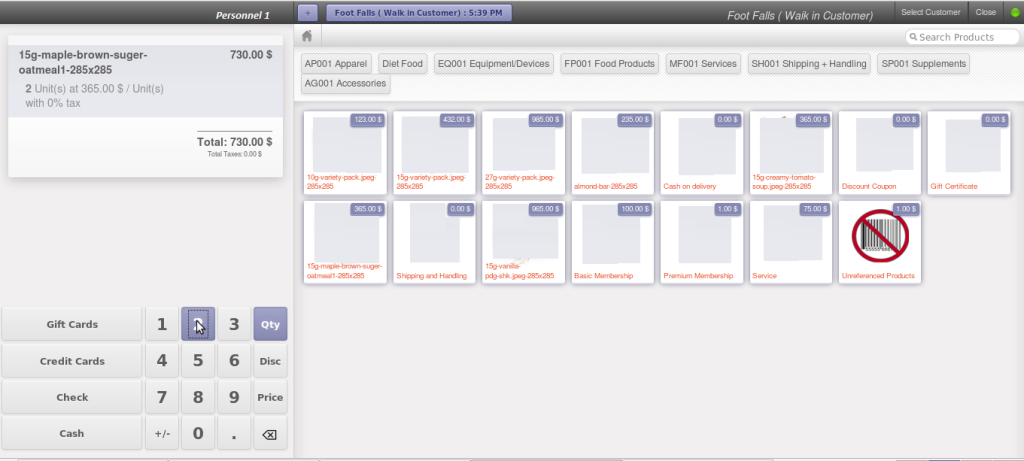
Select multiple quantities of same product
-
Select a product, which would instantaneously appear on left side top in the item list.
-
Use Qty in the KIOSK to multiply the quantity of a product.
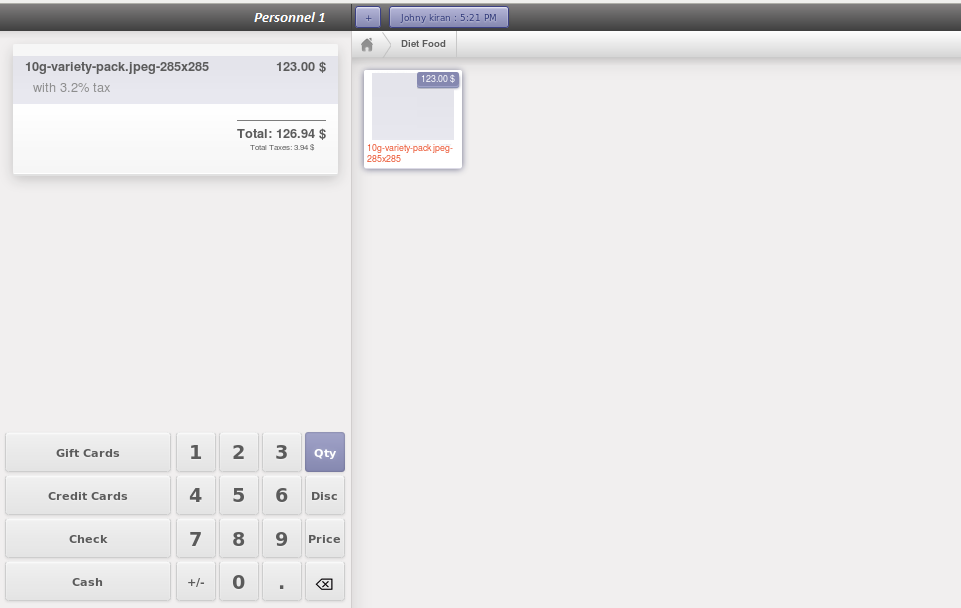
Select category wise product
-
Product categories are accessible under the ribbon with home icon.
-
To select category wise products a category button needs to be clicked.
-
Item pertaining to the particular category appears in the screen.
Applicable discounts and taxes
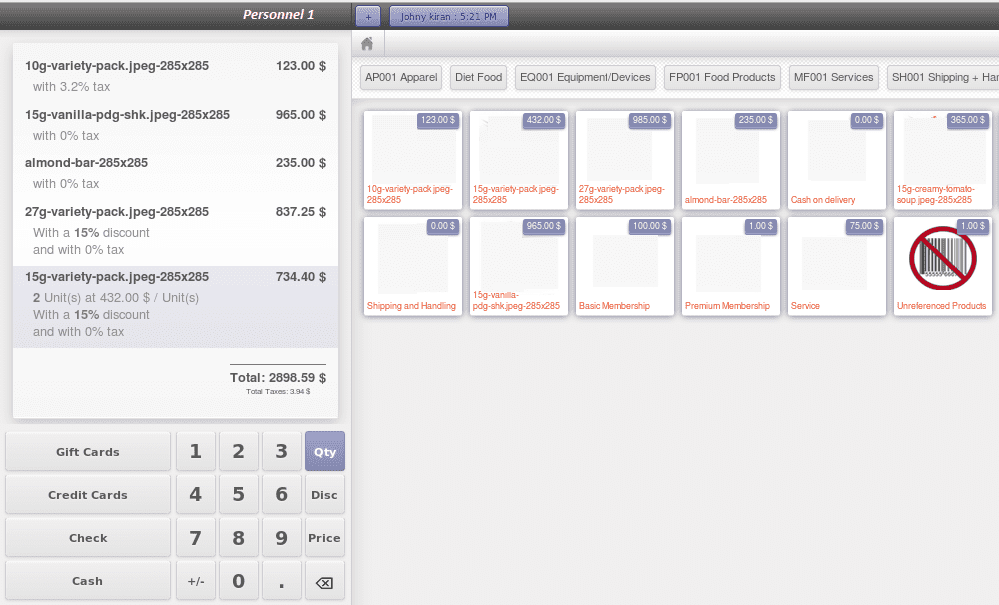
Example :
-
Check all the discount allocated to Basic membership which are appearing for Johnny Kiran.
-
The customer master is linked to a Membership type. Here Johnny Kiran is tagged as a Basic membership subscriber.
-
Membership is again tagged to product categories with certain discount rate. Here as shown 15gm Wafers are with food products category. As a result we see a 15% discount given to the customer.
Note: Please refer our next blog for “Payment methods at POS & Closing a session” in “Setting up Point of Sales in less that 30 min and start using in Odoo.Part2”