Magento 2 Custom Module Development
This is first of our series for the Magento 2 Articles. In this we will see how we can create basic Magento 2 module and in our next series we will see more advanced topics such as how to create a new backend Grid and how the data will come from the Frontend.
Download the code of this article from the GitHub Link:
On a nutshell this is how our folder structure should look like, if you are coming from Magento 1.x background check our other article https://ktree.com/blog/How-to-Create-a-plugin/Module-in-Magento-2.0-or-convert-your-1.x-Plugin.html
Folder Structure:
app
code
Ktree(Vendor)
CustomModule (Custom Module Name)
Controller
Index/Custom.php
etc
frontend/routes.xml
module.xml
Registration.php
Step 1: Create a Folder with your desired Module Name
Name of the module is defined as “VendorName_ModuleName”
VendorName – name of the vendor to categorize all custom module
ModuleName – module Name
For example: Ktree_CustomModule
app/code/Ktree/CustomModule
Note: It should be created in “app/code” folder(if “code” folder is not there please create it).
Step 2: Create etc/module.xml file
We need to define configurations in module etc/module.xml file. Magento 2 using this file recognizes the module’s name and module’s version.
File Location :
app/code/Ktree/CustomModule/etc/module.xml
<?xml version="1.0"?>
<config xmlns:xsi="http://www.w3.org/2001/XMLSchema-instance" xsi:noNamespaceSchemaLocation="urn:magento:framework:Module/etc/module.xsd">
<module name="Ktree_CustomModule" setup_version="1.0.0">
</module>
</config>
In node name – module name and format should be _Setup_version – module version
Step 3: Create etc/registration.php file
We need this step to register the module which we created in the last step.
File Location:
app/code/Ktree/CustomModule/registration.php
<?php

MagentoFrameworkComponentComponentRegistrar::register(

MagentoFrameworkComponentComponentRegistrar::MODULE,

Ktree_CustomModule, __DIR__);
Step 4: Enable the module
By default newly created module is in disable state. Check your module status by running this command.
php bin/magento module:status

To enable module, we need to run the following command in Magento root directory.
php bin/magento module:enable Ktree_CustomModule

Another way to enable the module is by editing the file “app/etc/config.php”, and the below line to enable it.‘Ktree_CustomModule’ => 1 in module array.
Step 5: Run Upgrade Setup
Please upgrade your database: Run “bin/magento setup:upgrade” from the Magento root directory.
Run following commands from Magento root directory
php bin/magento setup:upgrade then give permission to
1.chmod -R 0755 var/
2.chmod -R 0755 pub/static
3. php bin/magento setup:static-content:deploy
After this step, when you open your website in browser if you get following error
“Fatal error: Uncaught exception ‘RuntimeException’ with message ‘Can’t create directory”
do the following from magento root directory
1.chmod -R 0755 var/
2.chmod -R 0755 pub/static
Step 6: Create frontend route, Controller, Action, Layout, View and Block to Display Something
Step 6.1 : Create frontend route
To create a frontend route we need to create “route.xml” inside Ktree/CustomModule/etc/frontend directory.
File Location:
app/code/Ktree/CustomModule/etc/frontend/routes.xml
<?xml version="1.0" ?>

<config xmlns:xsi="http://www.w3.org/2001/XMLSchema-instance" xsi:noNamespaceSchemaLocation="urn:magento:framework:App/etc/routes.xsd">

<router id="standard">

<route frontName="custommodule" id="custommodule">

<module name="Ktree_CustomModule"/>

</route>

</router>

</config>
In router node attributes id – type of the router and standard is for frontend
route node attributes id – unique identifier
frontName – our module frontend route name and its defines the first segment of frontend url(it should unique).
Step 6.2 : Create Controller & Action
-
We create a controller and action to call the layout file
-
To create a frontend route we need to create Controller folder inside our module and action file inside Controller folder.
-
In Action execute() method will be called first. So we need to add our logic inside same method.
File Location:
app/code/Ktree/CustomModule/Controller/Custom/Test.php
<?php

namespace KtreeCustomModuleControllerCustom;

class Test extends MagentoFrameworkAppActionAction

{

protected $_pageFactory;

public function __construct(

MagentoFrameworkAppActionContext $context,

MagentoFrameworkViewResultPageFactory $pageFactory

) {

$this->_pageFactory = $pageFactory;

return parent::__construct($context);

}

public function execute()

{

return $this->_pageFactory->create();

}

}
Above we have to declare the PageFactory and added it in execute method to render view.
Step 6.3 : Create Layout
-
To create action layout file we need to create respective layout file (we created custommodule_custom_test.xml.xm file) inside view/frontend/layout folder.
-
File format should be __.xml
-
In this file we can declare title of the page,include CSS file,which black we are using for layout and phtml file.
File Location:
app/code/Ktree/CustomModule/view/frontend/layout/custommodule_custom_test.xml
<?xml version="1.0"?>

<page xmlns:xsi="http://www.w3.org/2001/XMLSchema-instance" layout="1column" xsi:noNamespaceSchemaLocation="urn:magento:framework:View/Layout/etc/page_configuration.xsd">

<head>

<title>Custom Module</title>

</head>

<referenceContainer name="content">

<block class="KtreeCustomModuleBlockTest" name="custommodule_test" template="Ktree_CustomModule::test.phtml" />

</referenceContainer>

</page>
In node class – path of the respective block class
name – block name
template – name of phtml file with format ::
Step 6.4 : Create a frontend block file
-
To create block file we need to create block files inside Block folder(We have created a Test.php block)
-
In this block we can create method which we want to give as input our view file(phtml file)
-
Below, We have created displayContent method to get content.
File Location:
app/code/Ktree/CustomModule/Block/Test.php
<?php

namespace KtreeCustomModuleBlock;

class Test extends MagentoFrameworkViewElementTemplate

{

public function __construct(MagentoFrameworkViewElementTemplateContext $context)

{

parent::__construct($context);

}

public function displayContent()

{

return __(‘Hello World!’);

}

}
Step 6.5 : Create a frontend phtml files
-
To create phtml file we need to create phtml files inside view/frontend/templates/ folder(We have created a test.phtml file)
-
It contains the view of respective action.
File Location:
app/code/Ktree/CustomModule/view/frontend/templates/test.phtml
<?php

/**

* @var KtreeCustomModuleBlockTest $block

*/

echo $block->displayContent();
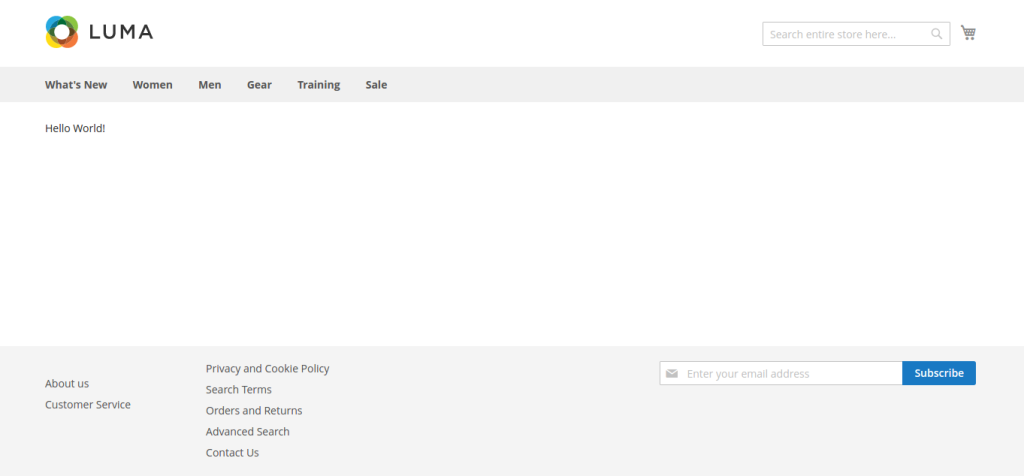
Clear cache by running “php bin/magento cache:clean” to check result.
URL should formatted as below,
http://custommodule/custom/test
You able to see layout with “Hello World” content.