Firebase provides a comprehensive set of tools for developing web and mobile applications, and when combined with Express.js, it opens up a world of possibilities. In this article, we will explore the integration of Express.js with Firebase Authentication to secure and authenticate users in your web applications.
Github Link: https://github.com/KtreeOpenSource/expressExamples/tree/main/Firebase
What is Firebase?
Firebase is a platform developed by Google that offers a suite of cloud-based services for building and scaling web and mobile applications. Firebase provides solutions for real-time databases, authentication, hosting, cloud functions, and more.
Why Use Firebase Authentication with Express.js?
Integrating Firebase Authentication with your Express.js application can bring several advantages:
1. Secure User Authentication: Firebase Authentication provides secure and reliable user authentication methods, including email/password, social media logins, and multi-factor authentication.
2. Scalable Infrastructure: Firebase offers a scalable and serverless infrastructure, reducing the need for managing server-side code and infrastructure complexities. This allows developers to focus more on application logic.
3. Real-time Updates: Firebase’s real-time database capabilities enable seamless integration with applications that require real-time updates, such as chat applications and collaborative tools.
4. Authentication State Management: Firebase Authentication simplifies the process of managing user authentication states, making it easier to build features that depend on the user’s authentication status.
Setting Up Firebase Authentication
To get started with Firebase Authentication in your Express.js application:
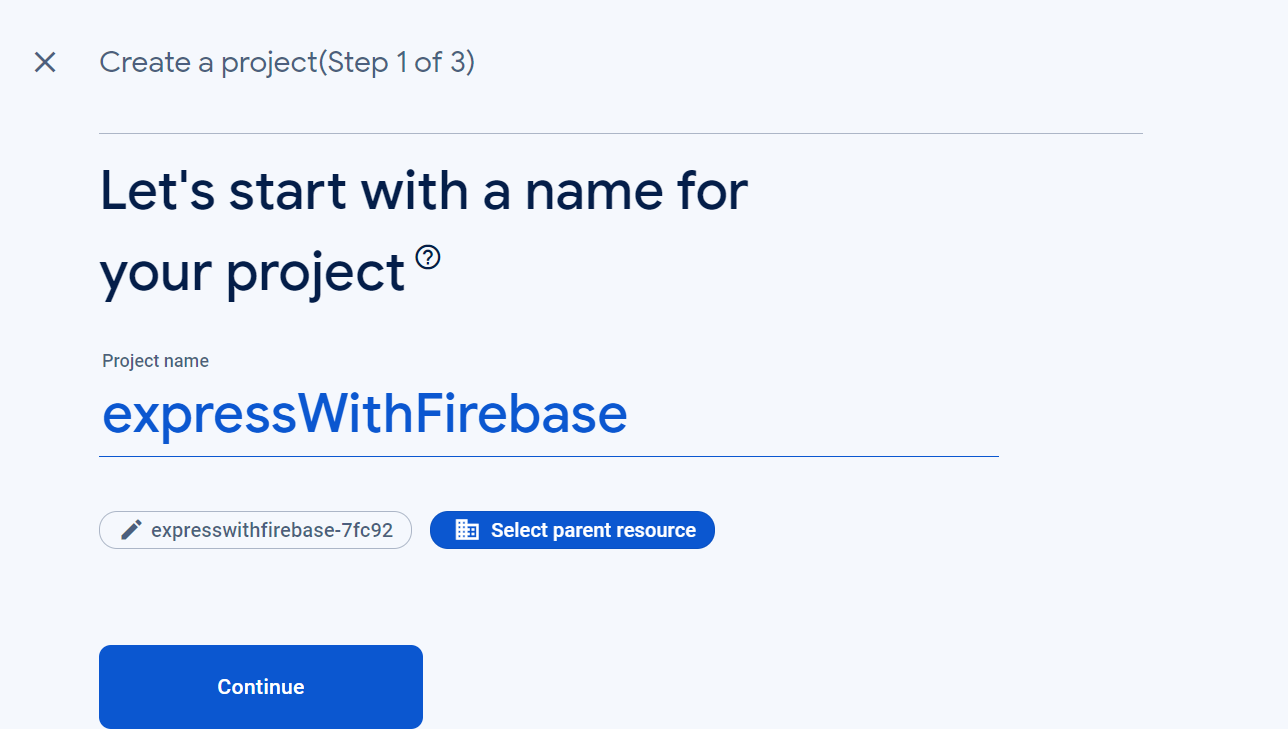
1. Create a Firebase Project: Go to the [Firebase Console](https://console.firebase.google.com/), create a new project, and set up your Firebase application.


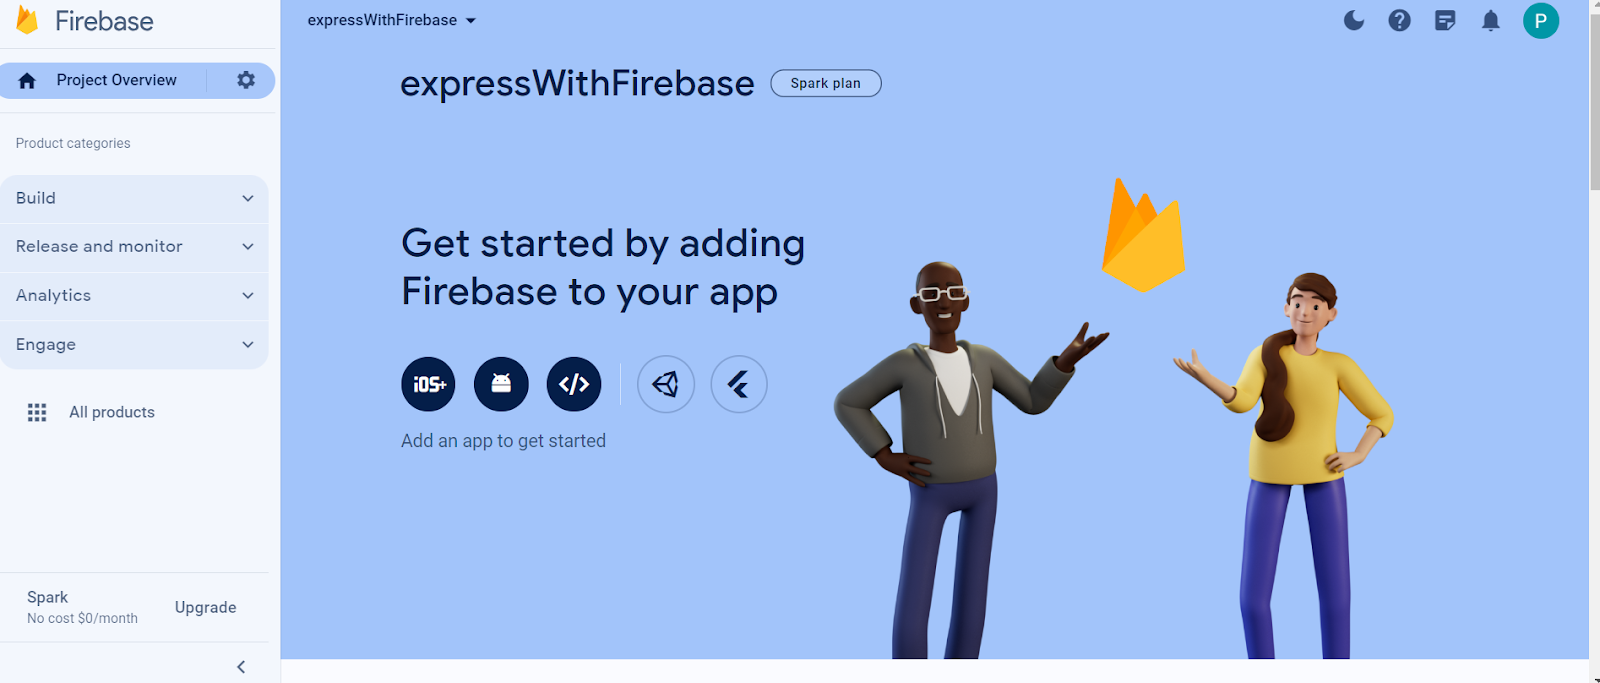
2. Add Firebase to your Web App: Follow the instructions to add Firebase to your web app. This will involve including the Firebase SDK in your HTML files.

3. Enable Authentication Providers: In the Firebase Console, navigate to the “Authentication” section and enable the authentication providers you want to use (e.g., Email/Password, Google, Facebook).
4. Configure Firebase SDK: In your Express.js application, configure the Firebase SDK using the credentials obtained from the Firebase Console. This usually involves initializing the Firebase Admin SDK on the server side.
Implementing Firebase Authentication in Express.js
Once Firebase is set up, integrating it with your Express.js application involves the following steps:
1. Install Firebase SDK:
npm install firebase-admin
2. Initialize Firebase in Express App:
 const express = require(‘express’);
   const admin = require(‘firebase-admin’);

   const app = express();

   // Initialize Firebase Admin SDK
   const serviceAccount = require(‘path/to/serviceAccountKey.json’);
   admin.initializeApp({
     credential: admin.credential.cert(serviceAccount),
     storageBucket: “storageBucketName”
     // …other configuration options
   });
3. Implement Firebase Authentication Middleware:
const authenticateUser = async (req, res, next) => {

     const idToken = req.headers.authorization;
     try {

       const decodedToken = await admin.auth().verifyIdToken(idToken);

       req.user = decodedToken; // Attach user data to request object

       next();

     } catch (error) {

       res.status(401).json({ error: ‘Unauthorized’ });

     }

   };
   // Example API endpoint using the middleware

   app.get(‘/api/some-protected-endpoint’, authenticateUser, (req, res) => {

     // Access user data from req.user

     const userUID = req.user.uid;

     // Your API logic here

   });
4. Use Firebase Authentication in Routes:
Implement Firebase Authentication middleware in the routes where authentication is required.
const express = require(‘express’);

   const router = express.Router();

   const { authenticateUser } = require(‘./middlewares/auth’);
   router.get(‘/protected-route’, authenticateUser, (req, res) => {

     // Your protected route logic

   });
   module.exports = router;
Create User:
try {

    const user = await admin.auth().createUser({

      email: ‘user@example.com’,

      password: ‘password123’,

      displayName: ‘John Doe’,

      phoneNumber: ‘+1234567890’,

      // Other user properties…

    });

    console.log(‘Successfully created user:’, user.uid);

  } catch (error) {

    console.error(‘Error creating user:’, error);

  }
you can use the createUser() method to create a new user. This method takes an object containing the user’s properties as input and returns a Promise that resolves with the newly created user’s information
Update User:
try {

    const updatedUser = await admin.auth().updateUser(uid, {

      displayName: ‘Updated Name’,

      email: ‘updatedemail@example.com’,

      phoneNumber: ‘+1234567890’,

      // Other user properties to update…

    });

    console.log(‘Successfully updated user:’, updatedUser.uid);

  } catch (error) {

    console.error(‘Error updating user:’, error);

  }
updateUser() method to update an existing user’s properties. This method takes two parameters: the user’s UID and an object containing the properties to be updated.
specify the UID of the user you want to update and provide an object containing the properties you wish to update. You can update properties like display name, email, phone number, etc., based on your application’s requirements.
Disable User:
To disable a user in Firebase using a Node.js function, you can update the user’s disabled property to true using the Firebase Admin SDK’s
try {

    await admin.auth().updateUser(uid, {

      disabled: true

    });

    console.log(‘Successfully disabled user:’, uid);

  } catch (error) {

    console.error(‘Error disabling user:’, error);

  }
specify the UID of the user you want to disable.
Enable User:
To enable a user in Firebase using a Node.js function, you can update the user’s disabled property to false using the Firebase Admin SDK’s
try {

    await admin.auth().updateUser(uid, {

      disabled: false

    });

    console.log(‘Successfully enabled user:’, uid);

  } catch (error) {

    console.error(‘Error enabling user:’, error);

  }
specify the UID of the user you want to enable.
Delete User:
try {
    await admin.auth().deleteUser(uid);
    console.log(‘Successfully deleted user:’, uid);
  } catch (error) {
    console.error(‘Error deleting user:’, error);
  }
deleteUser() method to delete an existing user by their UID
specify the UID of the user you want to delete.
Firebase Storage:
Firebase Storage is a cloud storage solution provided by Firebase, a platform developed by Google for building web and mobile applications. It offers a secure and scalable way to store user-generated content such as images, videos, and other files. In this comprehensive guide, we’ll delve into the process of uploading files to Firebase Storage using Node.js, leveraging the Firebase Admin SDK.
add storage bucket in admin configurations:
storageBucket: ‘your-storage-bucket-url’
Upload Images:
Uploading images to Firebase Storage is a crucial aspect of many web and mobile applications. It allows users to store and retrieve images securely in the cloud, enabling functionalities such as profile picture uploads, image galleries, and content sharing. In this detailed explanation, we’ll cover the process of uploading images to Firebase Storage using Node.js, highlighting key steps and considerations along the way.
let path = require(‘path’);

let fs = require(‘fs’);
async function uploadImage(){

    const file = req.files.selectedFile;

    const targetFolder = path.join(__dirname, "./uploads");

    const targetPath = path.join(targetFolder, `/${new Date().getTime()}_${file.name}`);

    if (!fs.existsSync(targetFolder)) {

        fs.mkdirSync(targetFolder);

    }

    fs.writeFileSync(targetPath, file.data)

    let destination = `testFolder/${Date.now()}.png`

    let a = await firebase.storage.bucket().upload(targetPath, {

        destination: destination,

         gzip: true,

        metadata: {

            cacheControl: ‘public, max-age=31536000’

        }

    });
    fs.unlinkSync(targetPath)

}
1. Import Dependencies:
– `path`: This Node.js module provides utilities for working with file and directory paths.
– `fs`: This Node.js module allows you to interact with the file system, enabling tasks such as reading from and writing to files.
2. UploadImage Function:
– This function is declared as `async`, indicating that it contains asynchronous operations and may use `await` to handle promises.
3. File Upload Handling:
– The function assumes that `req.files.selectedFile` contains the uploaded file object.
– It defines the `targetFolder` variable, which represents the directory where the uploaded file will be stored locally.
– It constructs the `targetPath`, which is the full path to the destination file on the local file system. The filename is prefixed with the current timestamp to ensure uniqueness.
– If the `targetFolder` directory does not exist, it is created synchronously using `fs.mkdirSync`.
– The file data is written to the `targetPath` using `fs.writeFileSync`.
4. Firebase Storage Upload:
– It defines the `destination` variable, which specifies the destination path in Firebase Storage where the file will be uploaded.
– The `firebase.storage.bucket().upload()` method is called to upload the file to Firebase Storage. It takes the following parameters:
– `targetPath`: The local file path of the file to be uploaded.
– `destination`: The destination path within Firebase Storage where the file will be stored.
– `gzip`: Optional. Enables gzip compression during upload for supported file types.
– `metadata`: Optional. Additional metadata for the uploaded file, such as cache control settings.
5. File Cleanup:
– After the upload is complete, the local file specified by `targetPath` is deleted using `fs.unlinkSync`. This ensures that unnecessary files are not retained on the server after the upload process.
6. Error Handling:
– Error handling is not explicitly shown in this code snippet. It’s important to implement error handling to handle potential errors that may occur during file upload or storage operations.
7. Conclusion:
– This code snippet demonstrates a basic implementation of file upload functionality using Node.js and Firebase Storage. It handles both the local storage of uploaded files and their subsequent upload to Firebase Storage, ensuring efficient and secure handling of user-uploaded content in web applications.
Retrieve Image URLs:
After uploading images, you can retrieve their URLs to display them in your application.
const imageUrl = `https://firebasestorage.googleapis.com/v0/b/${bucket.name}/o/${encodeURIComponent(fileName)}?alt=media`;
Get Image
let path = require(‘path’);

let fs = require(‘fs’);
async function getImage(){
    let f = await firebase.storage.bucket().file(destination)

    let signedURLs = await f.getSignedUrl({

        action: ‘read’,

        expires: ’03-09-2491′

    })

    let signedURL = signedURLs[0]

    let imageB64WithMetaData;

    let contentType;

    try {

        let imgResponse = await axios.get(signedURL, { responseType: ‘arraybuffer’ })

        let imageB64 = Buffer.from(imgResponse.data, ‘base64’).toString(‘base64’)

        contentType = imgResponse.headers[‘content-type’].toLowerCase()

        imageB64WithMetaData = `data:${contentType};base64,${imageB64}`;

return { data: imageB64WithMetaData, contentType: contentType }

    } catch (error) {

                return error;

    }

}
1. Get Signed URL:
– It starts by obtaining a reference to the file in Firebase Storage using `firebase.storage.bucket().file(destination)`, where `destination` is the path to the file.
– Then, it generates a signed URL for the file with read access and an expiration date using the `getSignedUrl` method. This URL is time-limited and provides temporary access to the file.
2. Fetch File Data:
– Once the signed URL is obtained, the code uses `axios` to perform an HTTP GET request to the signed URL.
– The response type is set to `arraybuffer` to ensure that binary data is correctly received.
– Upon receiving the response, the code converts the array buffer data to a base64-encoded string.
– It also extracts the content type of the image from the response headers.
3. Data Processing:
– The base64-encoded image data is prefixed with a data URL scheme (`data:image/jpeg;base64,`) to form a complete data URL.
– This data URL represents the image data along with its MIME type and is suitable for embedding directly into HTML or using in data URI contexts.
4. Error Handling:
– Error handling is implemented using a try-catch block to capture any potential errors that may occur during the HTTP request.
5. Return Value:
– The function returns an object containing the base64-encoded image data (`imageB64WithMetaData`) and the content type (`contentType`).
– If an error occurs during the process, the function returns the error object.
6. Conclusion:
– This code snippet demonstrates how to securely retrieve file data from Firebase Storage using a signed URL and fetch the data in a Node.js environment. It provides a way to convert the binary file data into a base64-encoded string, making it suitable for various use cases such as displaying images in web applications.