Automating Cloud Workflows with AWS Lambda Triggers: A Primer for Serverless Event-Driven Computing
Explore the transformative power of AWS Lambda triggers, the key to automating and streamlining cloud operations through serverless event-driven computing.

Table of Contents
Introduction
AWS Lambda triggers are mechanisms that initiate the execution of AWS Lambda functions in response to specific events or changes in your AWS environment. Triggers are configured to monitor events such as file uploads, database updates, messages in a queue, HTTP requests, and more. When the specified event occurs, the trigger activates the associated Lambda function, allowing you to automate processes, perform data processing, or respond to events in real-time without needing to manage server infrastructure. In essence, Lambda triggers are the drivers for serverless event-driven computing, ensuring that your Lambda functions are executed in a timely and automated manner when needed.
DynamoDB
An AWS Lambda DynamoDB trigger is a powerful AWS service integration that allows you to automatically invoke an AWS Lambda function in response to specific events happening in an Amazon DynamoDB table. This event-driven architecture enables you to perform real-time processing and take actions in your Lambda function whenever data changes within the DynamoDB table. Here’s a detailed explanation of AWS Lambda DynamoDB triggers:
Key Components:
- AWS Lambda: AWS Lambda is a serverless compute service that allows you to run code in response to various events, including DynamoDB events. Lambda automatically scales and manages the compute resources for your functions.
- Amazon DynamoDB: DynamoDB is a fully managed NoSQL database service provided by AWS. It’s designed to provide low-latency, high-throughput performance for read and write operations.
How the Trigger Works:
- Event Source Mapping: To create a Lambda function that triggers from DynamoDB, you define an event source mapping. You specify the DynamoDB table and event types (e.g., INSERT, MODIFY, REMOVE) that will trigger the Lambda function. The event source mapping polls the DynamoDB stream for changes and invokes the Lambda function when it detects a matching event.
- DynamoDB Streams: DynamoDB uses streams to capture changes to a table. Streams provide a time-ordered sequence of item-level modifications, which are the basis for triggering the Lambda function.
- Lambda Function: Your Lambda function can be written in your preferred programming language (Node.js, Python, Java, etc.). It receives events as input, which contain the details of the changes in the DynamoDB table.
- Processing Logic: Within the Lambda function, you can implement your processing logic. This can be anything from data validation to aggregations, notifications, or storing the data in another system.
Use Cases:
AWS Lambda DynamoDB triggers are valuable for a variety of use cases, including:
- Real-time Data Processing: Automatically process and analyze data changes as they occur, enabling real-time data analytics and insights.
- Auditing and Logging: Capture changes in your data for auditing purposes, tracking historical data modifications.
- Data Transformation: Transform the data as it moves between DynamoDB and other data stores.
- Alerting and Notifications: Send alerts or notifications when specific conditions in the DynamoDB table are met.
- Archiving Data: Automatically archive data to another storage system when it’s no longer needed in DynamoDB.
- Dynamic Scaling: Automatically scale your compute resources based on the incoming data rate and processing requirements.
Considerations:
When setting up an AWS Lambda DynamoDB trigger, you should keep the following considerations in mind:
- Concurrency: Be aware of the concurrency limits for your Lambda function, as concurrent executions are based on the number of shards in the DynamoDB stream.
- Error Handling: Implement robust error handling in your Lambda function to ensure that failures are properly managed.
- Cost Management: Monitor and manage costs, as running Lambda functions can incur charges based on the number of requests and execution time.
- Security: Ensure that your Lambda function has the appropriate IAM (Identity and Access Management) permissions to read from the DynamoDB stream.
- Testing: Test your Lambda function thoroughly to ensure that it processes events as expected.
By using AWS Lambda DynamoDB triggers, you can build real-time, event-driven applications that respond immediately to changes in your DynamoDB tables, enabling a wide range of use cases in a serverless and scalable manner.
To create an AWS Lambda function triggered by an Amazon DynamoDB event, follow these
Steps:
1.Create an AWS Lambda Function:
– If you don’t have an AWS Lambda function already, you need to create one:
– Go to the AWS Lambda service in the AWS Management Console.
– Click “Create function.”
– Choose an existing execution role or create a new role with the necessary permissions to read from DynamoDB and execute the Lambda function.
– Create a basic Lambda function or use a blueprint, depending on your use case.
2.Configure the Trigger:
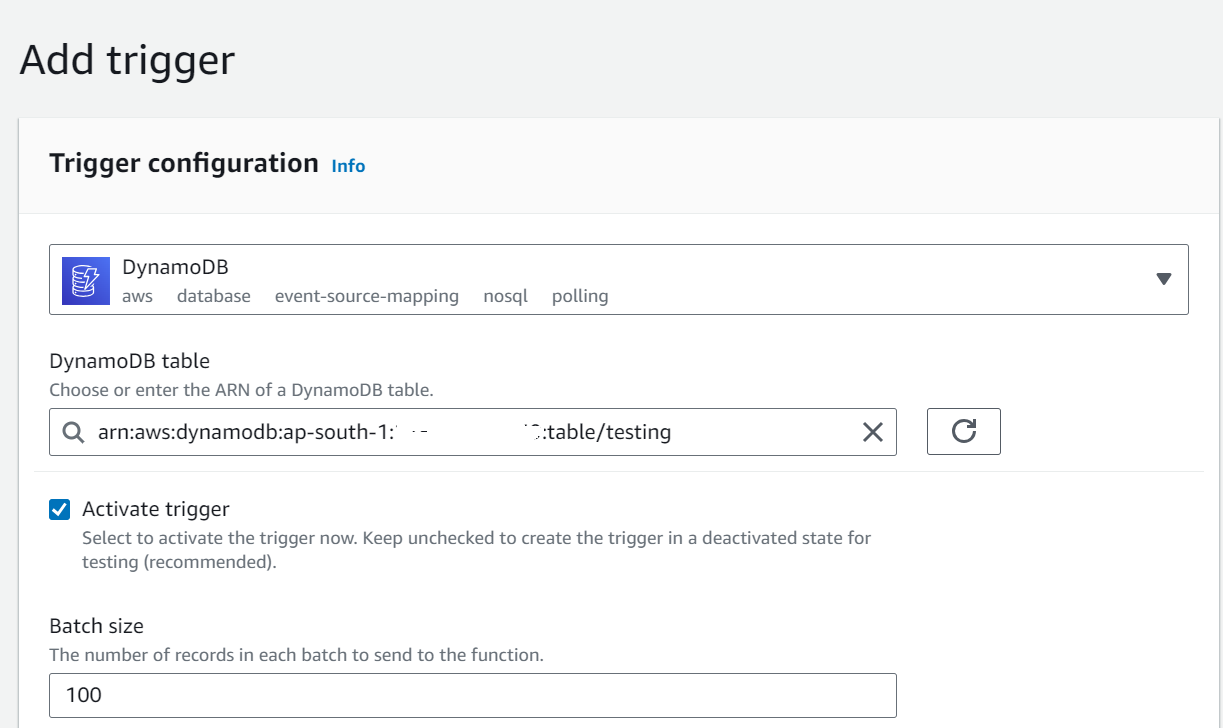
– In the Lambda function’s Designer tab, click “Add trigger.”
– Select “DynamoDB” from the list of triggers.
– Choose the DynamoDB table that will trigger the Lambda function.
– Choose the trigger type, which can be “Create,” “Modify,” “Remove,” or “All.” This determines which DynamoDB actions will trigger the Lambda function.
– Enable the trigger.
3.Set Up Function Code:
– In the Lambda function’s Configuration tab, upload your code or edit the function inline.
– Your code should be written to handle the event data from DynamoDB, which will be provided as input to the Lambda function.
4.Test the Function:
– Configure a sample test event in the AWS Lambda console if needed.
– Test your Lambda function with the test event to ensure it behaves as expected.
5.Deploy the Lambda Function:
-If you haven’t already, deploy your Lambda function. Make sure it’s in the “Active” state.
6.Create, Modify, or Delete Records in DynamoDB:
-The Lambda function will now be triggered whenever records in the specified DynamoDB table are created, modified, or deleted.
Monitor and Troubleshoot:
– Monitor your Lambda function’s execution, and set up CloudWatch logs for better visibility into what’s happening.
– Handle any potential errors or exceptions in your code to ensure your Lambda function works reliably.
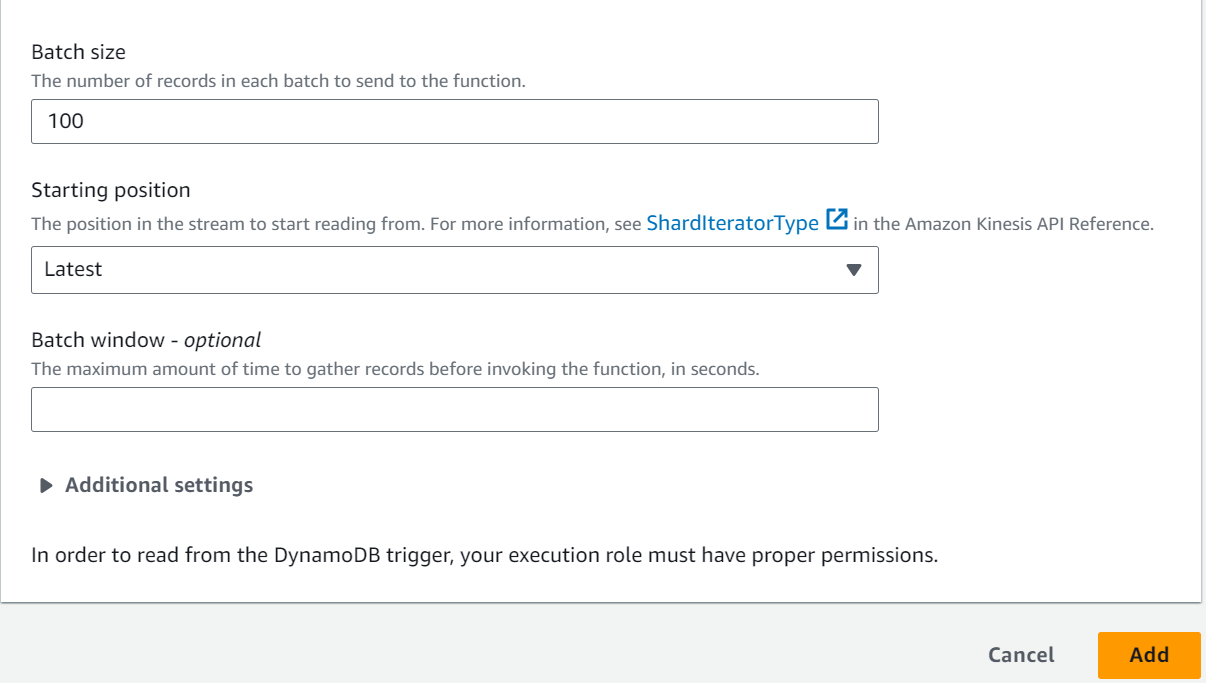
Please note that you need to set up the required IAM roles and permissions to allow Lambda to access DynamoDB. Make sure your Lambda function has the necessary permissions to read and write to DynamoDB tables, and ensure that the DynamoDB table has the appropriate Stream enabled for triggers.
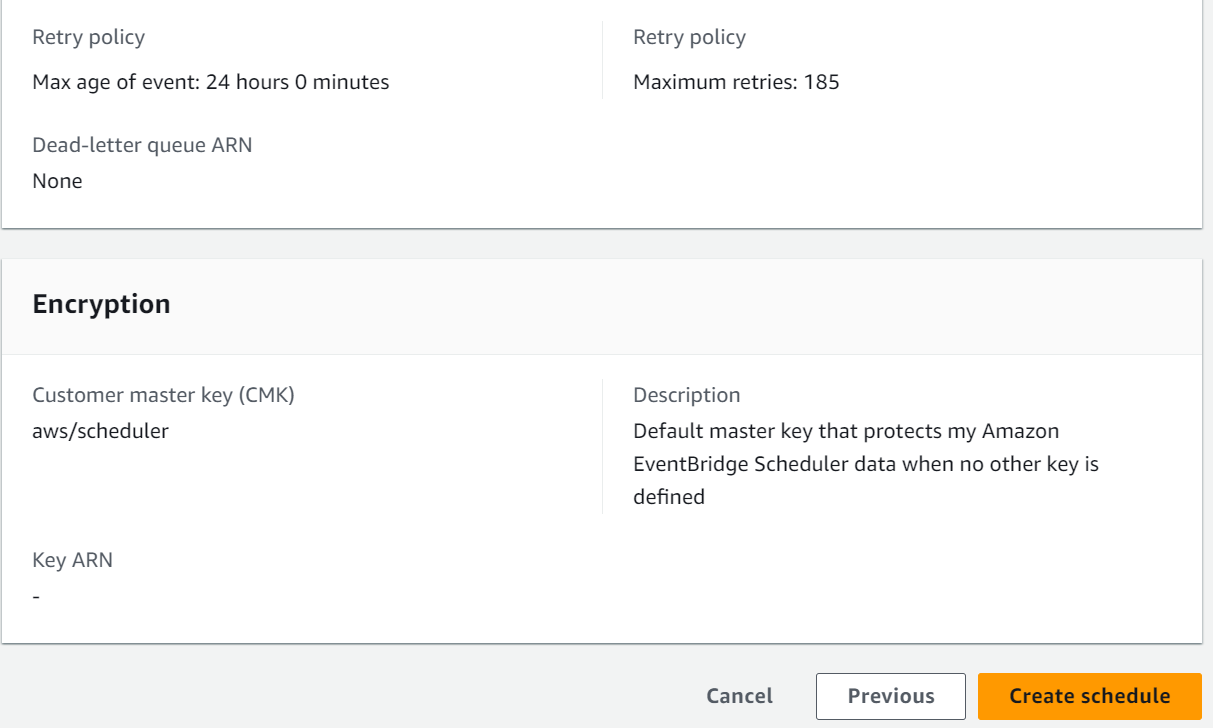
EventBridge
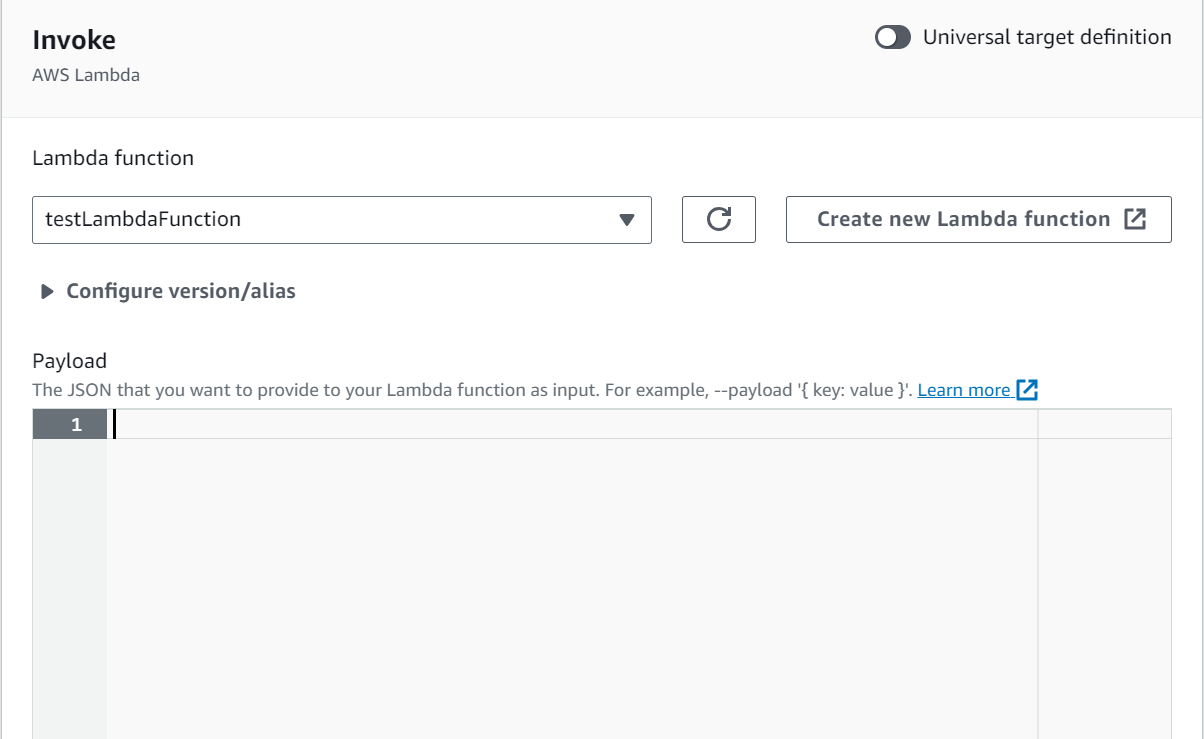
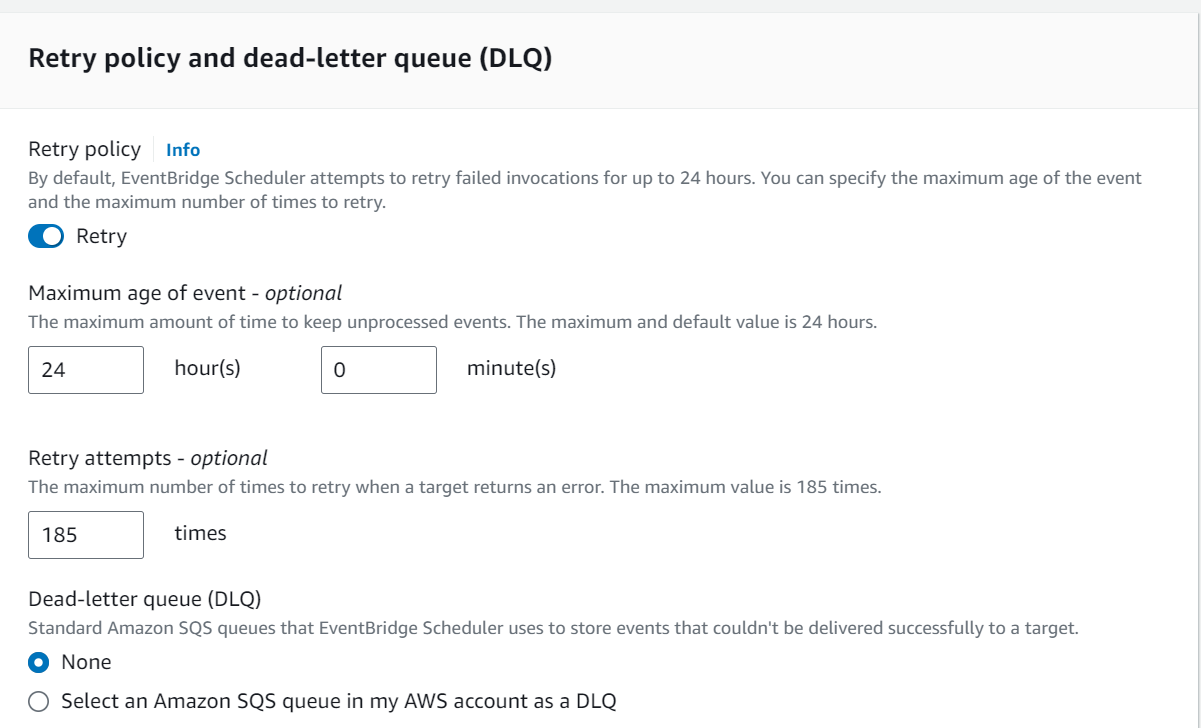
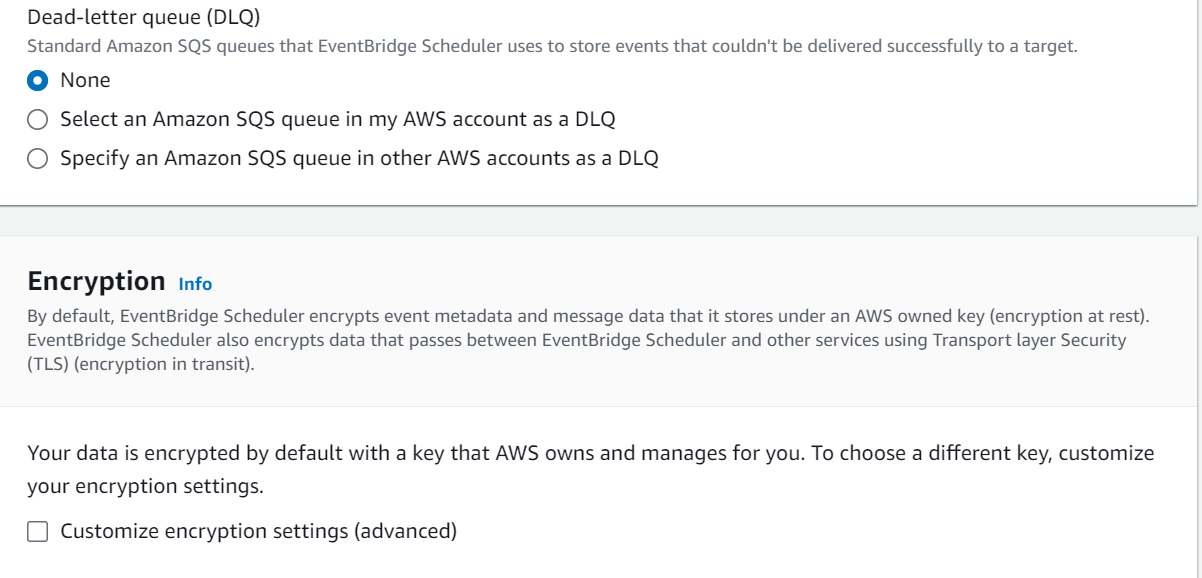
AWS Lambda EventBridge triggers enable you to execute AWS Lambda functions in response to events that are published to Amazon EventBridge, a serverless event bus service provided by AWS. Here are the steps to set up an AWS Lambda function to be triggered by EventBridge events:
1.Sign in to the AWS Management Console:
-Log in to your AWS account using your credentials.
2.Open EventBridge Service:
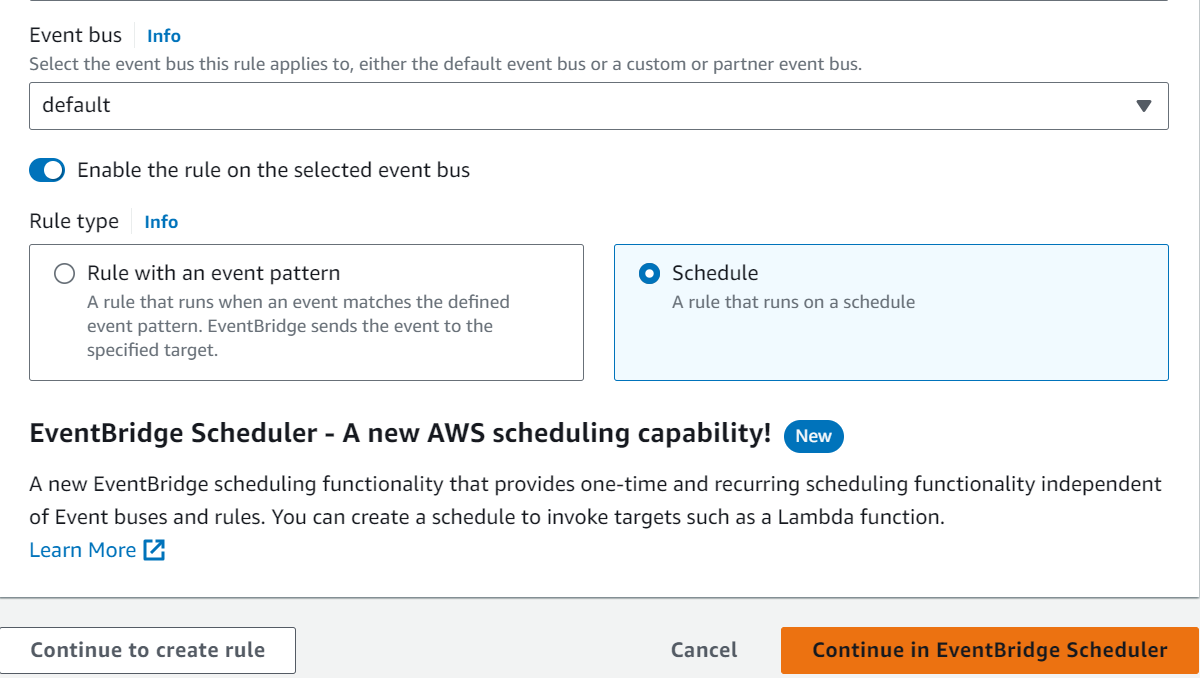
– Type “EventBridge” in the AWS Management Console search bar.
– Click on “EventBridge” under the “Services” section.
3.Create a Rule:
– In the EventBridge dashboard, click on “Rules” in the left sidebar.
– Click the “Create rule” button.
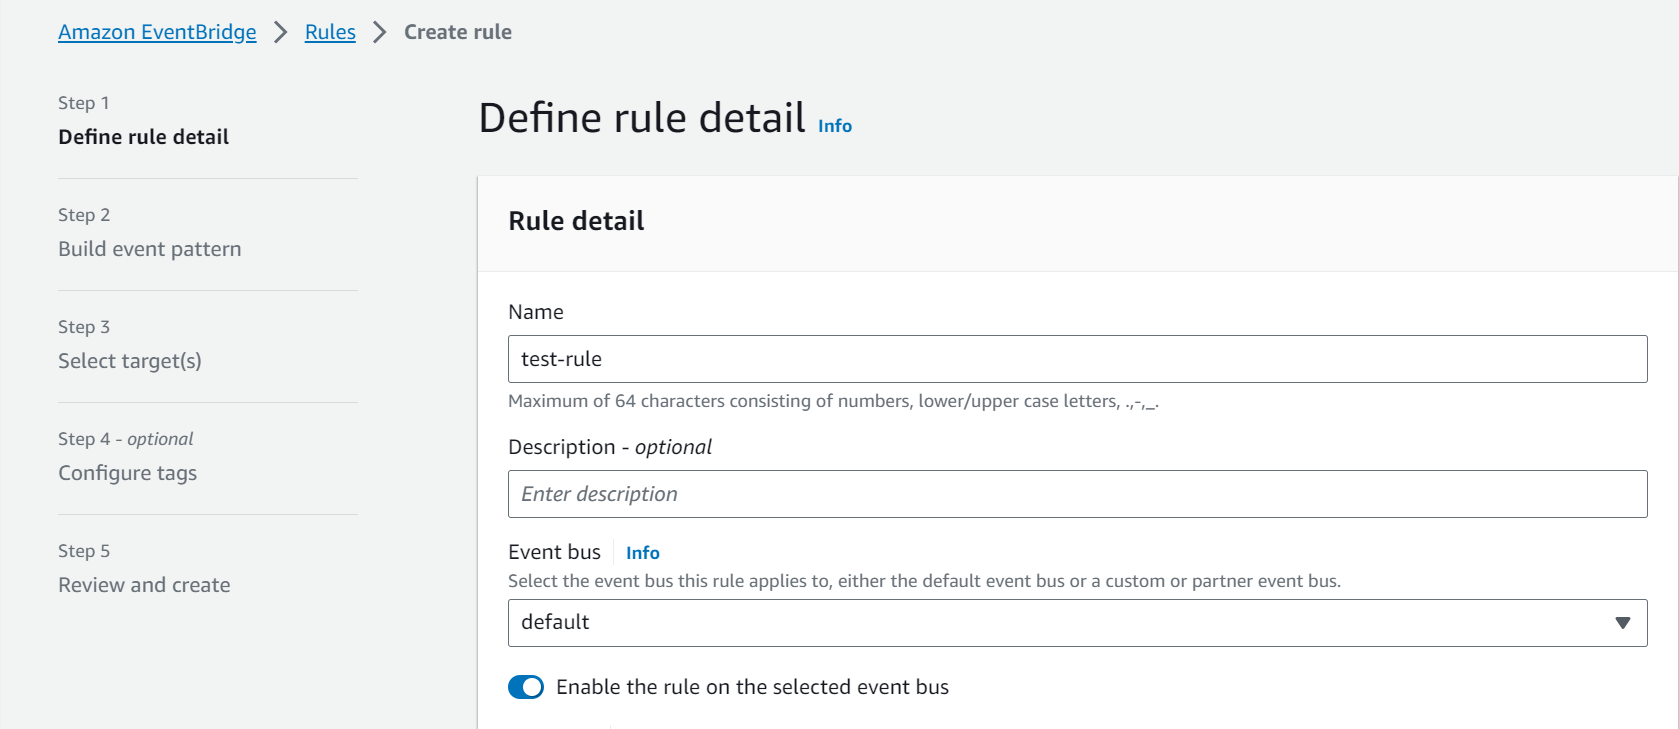
4.Define Rule Settings:
– Give your rule a name and optional description.
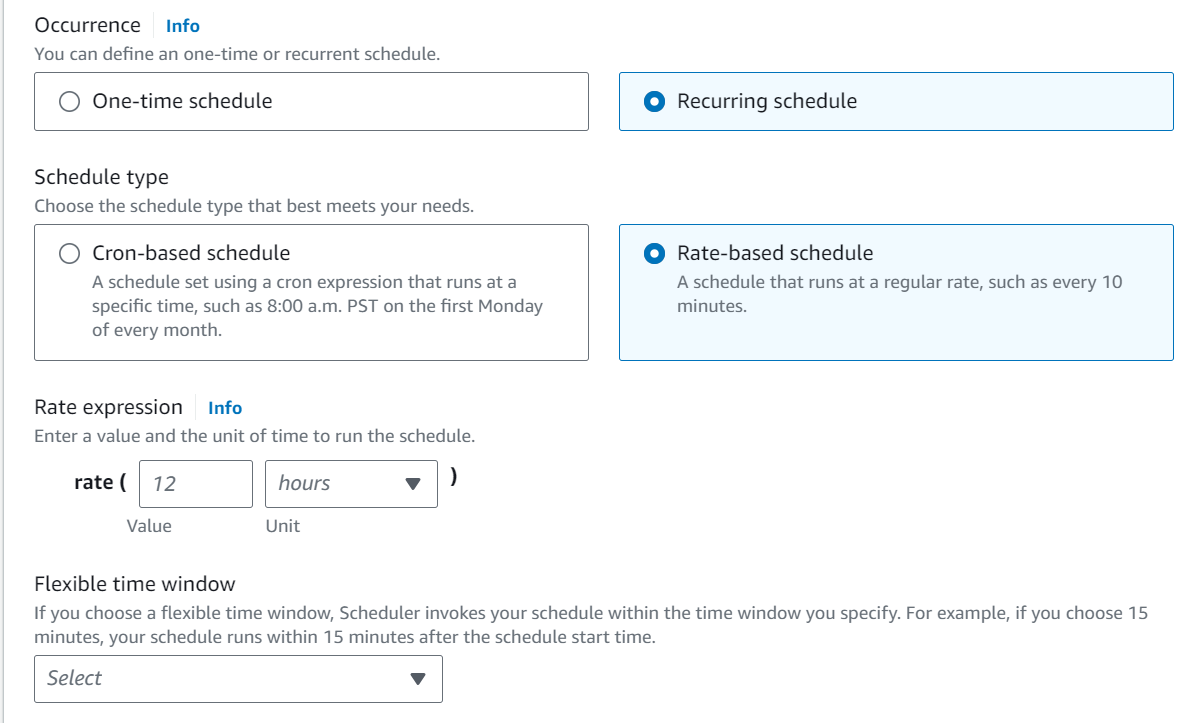
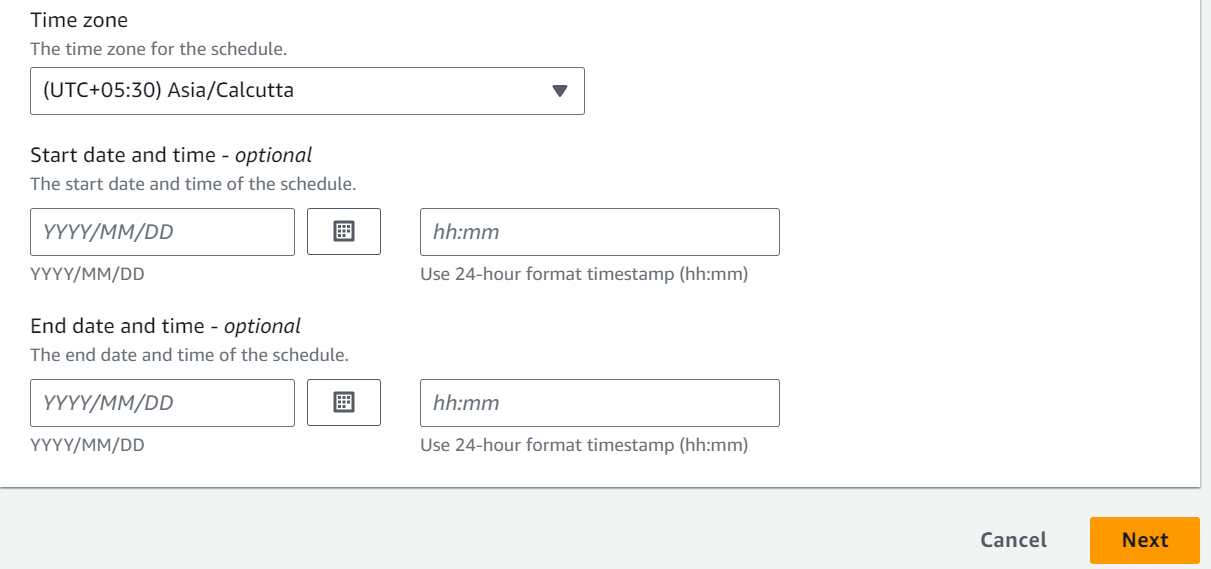
– In the “Define pattern” section, you can define the event pattern that will trigger your Lambda function.
– You can create a custom event pattern or select an event source, service name, and event type.
– Optionally, you can configure the event source.
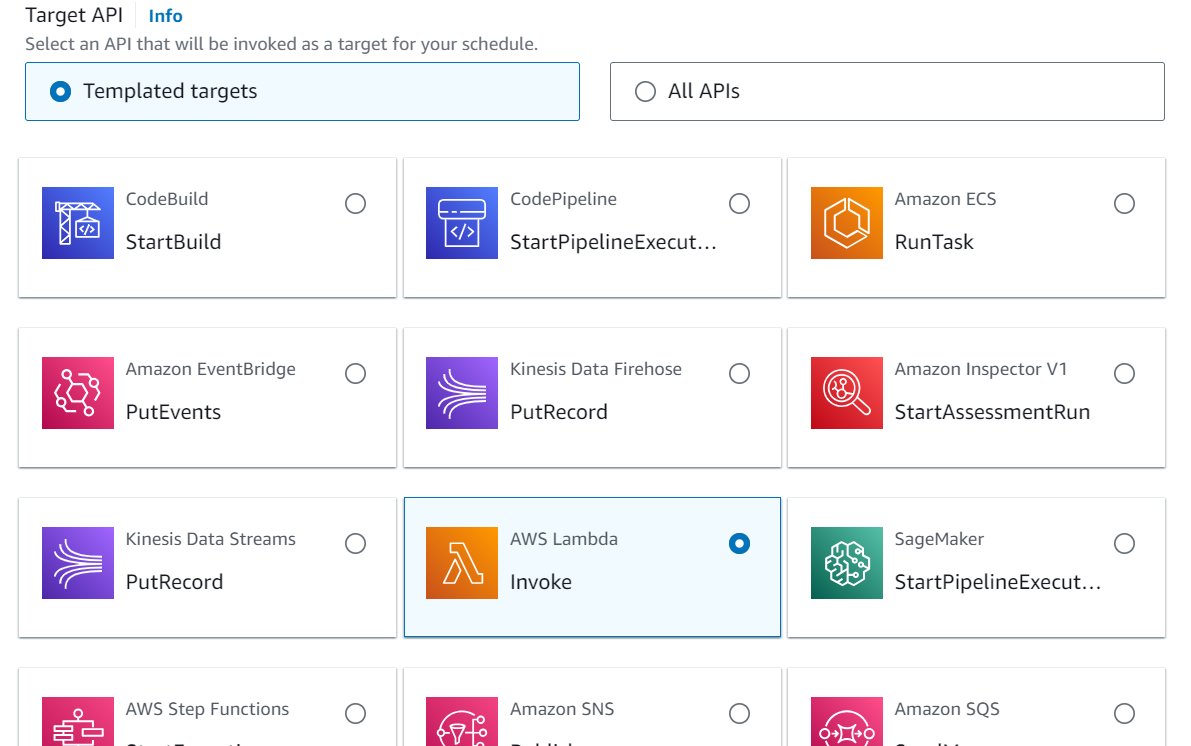
– Click “Add target” to specify the target of the rule.
5.Configure the Target:
– In the “Select target” section, choose “Lambda function” as the target type.
– Select the AWS Lambda function you want to trigger from the dropdown list.
– Optionally, you can input function parameters or customize the target based on your use case.
– Click “Create” to confirm the target.
6.Create Rule:
– Review the rule settings.
– Click “Create” to create the EventBridge rule.
7.Test the Rule (Optional):
– You can manually test the rule by creating and publishing a sample event to ensure that your Lambda function is triggered correctly.
8.Confirm the Rule:
– The rule will be created, and it will now trigger your AWS Lambda function based on the specified event pattern.
9.Monitoring and Troubleshooting:
– After the rule is created, you can set up monitoring and logging for your Lambda function and rule to track event invocations and troubleshoot any issues.
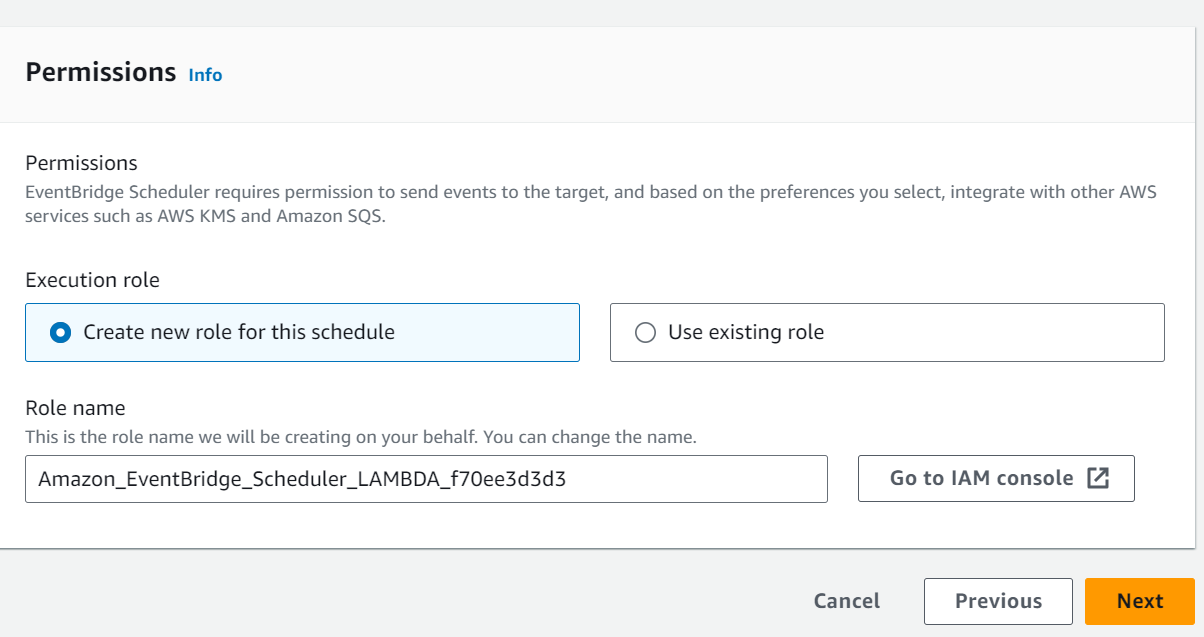
The above steps demonstrate how to create an EventBridge rule that triggers an AWS Lambda function using the AWS Management Console. Make sure that you have the necessary permissions to create and configure EventBridge rules, and that your Lambda function has the required permissions to be invoked by EventBridge.
SNS (Simple Notification Service)
An AWS Lambda function can be triggered by Amazon Simple Notification Service (SNS) notifications. This is often used to set up event-driven architectures where an action is taken in response to a message being published to an SNS topic. Here are the detailed steps for creating an AWS Lambda SNS trigger using the AWS Management Console:
1.Sign in to the AWS Management Console:
– Log in to your AWS account using your credentials.
2.Open Lambda Service:
– Type “Lambda” in the AWS Management Console search bar.
– Click on “Lambda” under the “Services” section.
3.Create a Lambda Function (if not already created):
– If you don’t already have a Lambda function, you need to create one.
– Click on the “Create function” button.
– Select “Author from scratch.”
– Fill in the function name, runtime (e.g., Node.js, Python, etc.), and execution role.
– Click “Create function.”
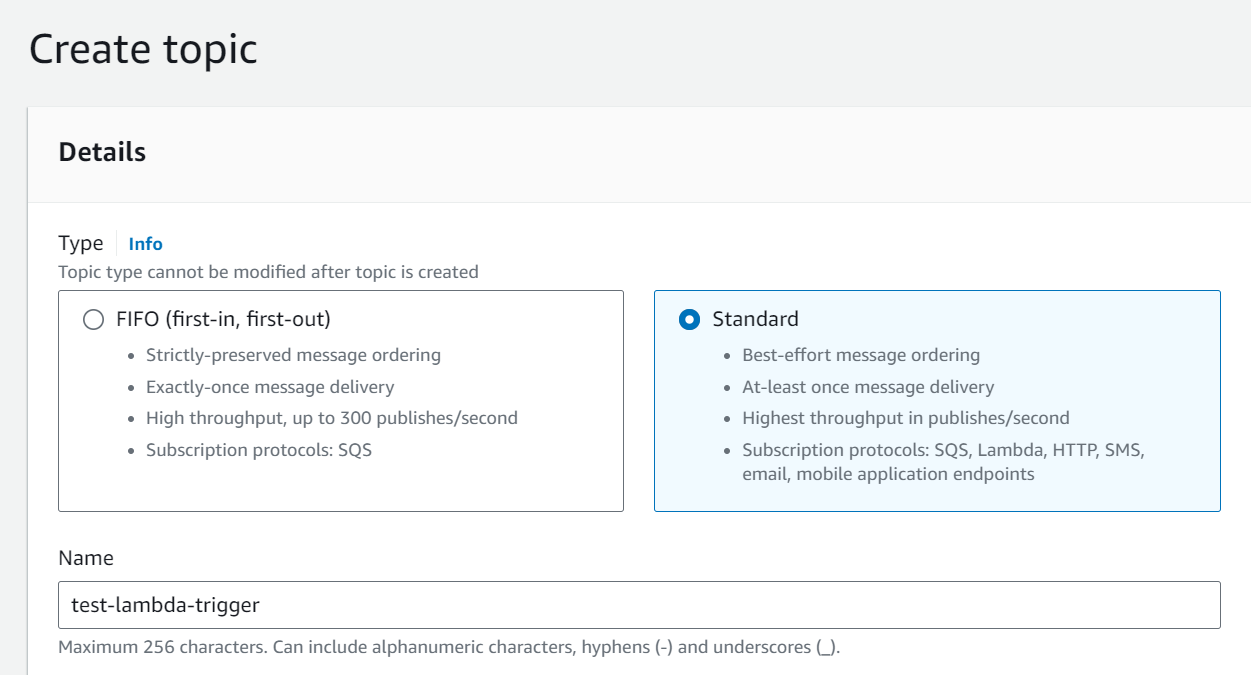
4.Create an SNS Topic (if not already created):
– If you don’t already have an SNS topic, you need to create one.
– Open the SNS service by typing “SNS” in the AWS Management Console search bar.
– Click “Topics” from the left sidebar.
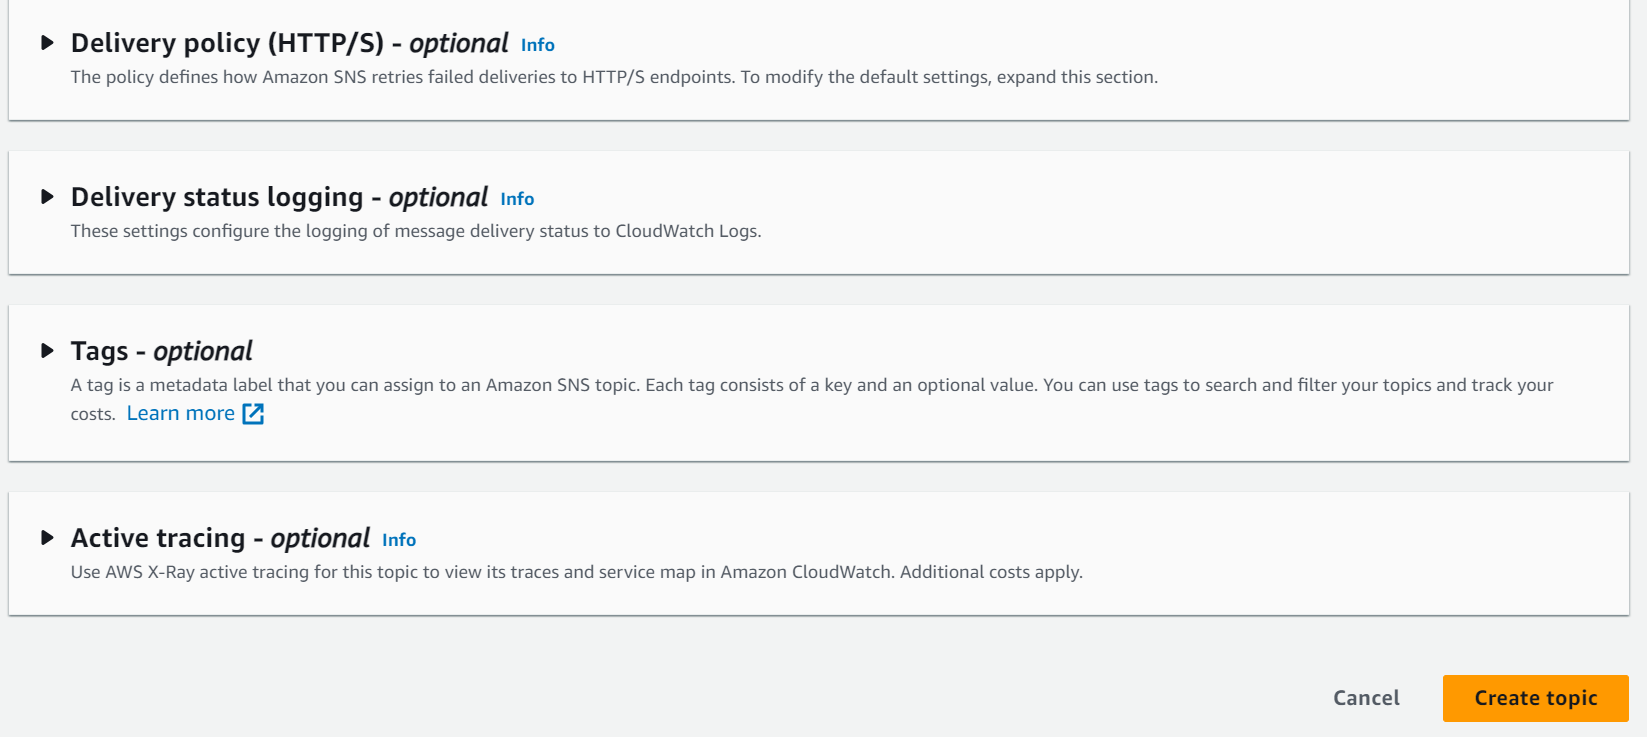
– Click “Create topic” and provide a name and display name.
– Click “Create topic” again.
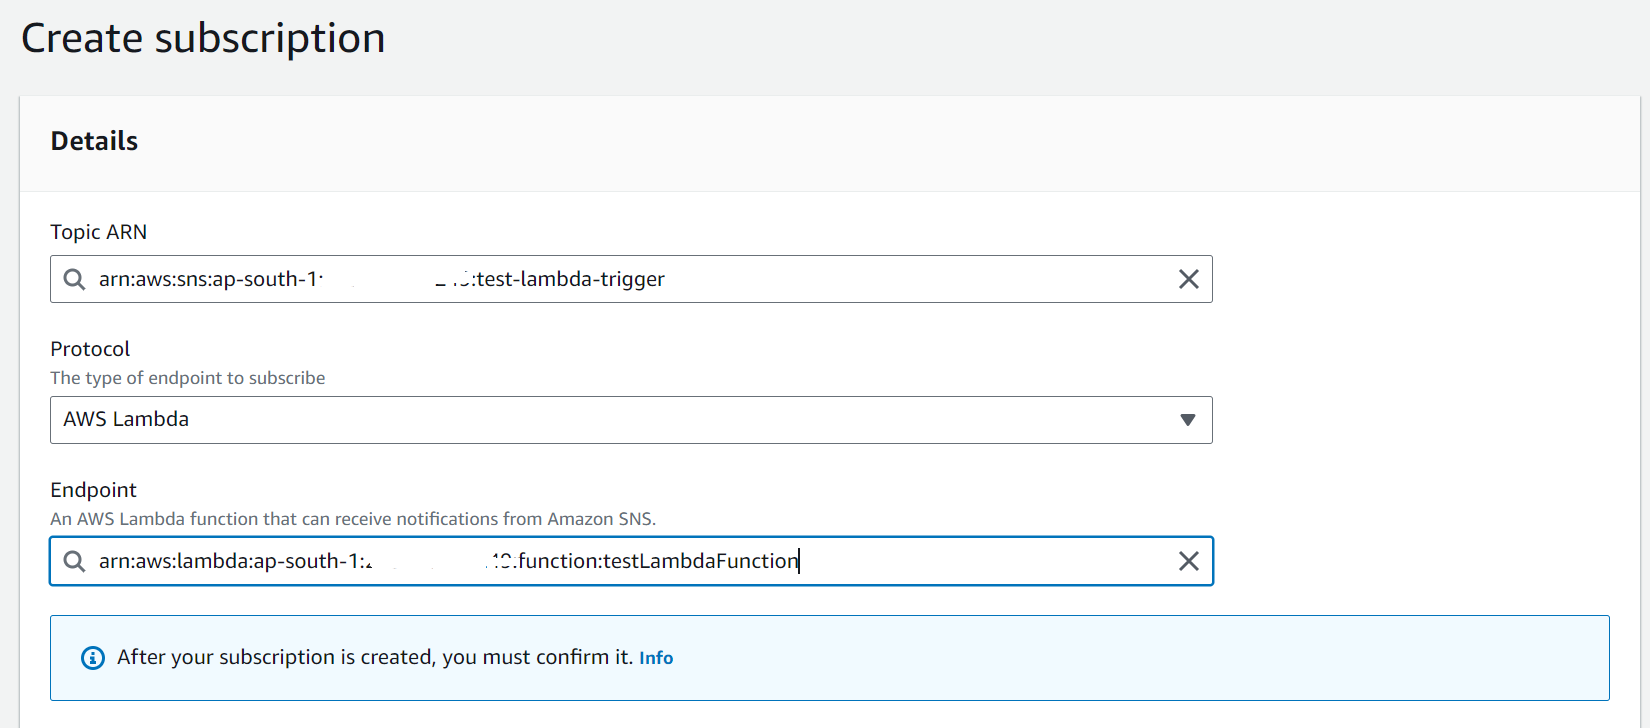
5.Subscribe the Lambda Function to the SNS Topic:
– In the SNS service, select the topic you created.
– Under “Actions,” click “Create subscription.”
– For the protocol, select “AWS Lambda.”
– In the “Function” dropdown, choose the Lambda function you want to trigger.
– Leave other settings as default and click “Create subscription.”
6.Confirm Subscription:
An initial SNS confirmation message will be sent to the Lambda function. You should see a new subscription in your Lambda function. If your Lambda function is not already confirmed, you will need to do so by following the provided confirmation link sent to the subscription endpoint (Lambda function).
7.Publish a Message to the SNS Topic:
– You can test the setup by publishing a message to the SNS topic. It will trigger the Lambda function you’ve subscribed.
– In the SNS topic details, click “Publish message.”
– Enter a subject and message, then click “Publish message.”
8.Monitoring:
You can monitor the function’s execution by reviewing the logs in the Lambda function’s monitoring tab.
9.Clean Up (optional):
If you no longer need the SNS trigger, you can unsubscribe the Lambda function from the SNS topic or delete the subscription altogether. Additionally, you can delete the SNS topic and the Lambda function.
Keep in mind that proper IAM roles and policies should be in place for both the Lambda function and SNS topic to allow them to interact. This is an important part of AWS security. The Lambda function should have permission to execute the SNS function.
The AWS Management Console provides an easy way to create an SNS trigger for an AWS Lambda function and test it using a sample message. Once set up, the Lambda function will be triggered whenever a message is published to the SNS topic.

SQS (Simple Queue Service)
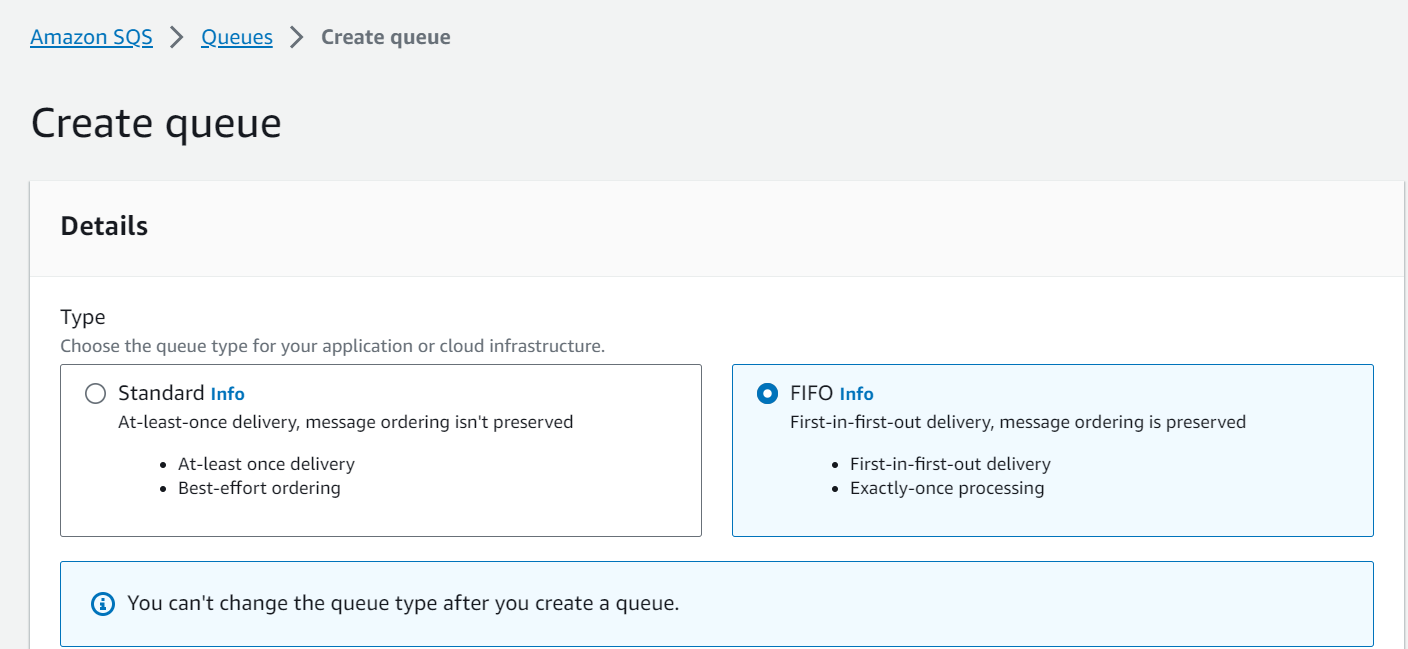
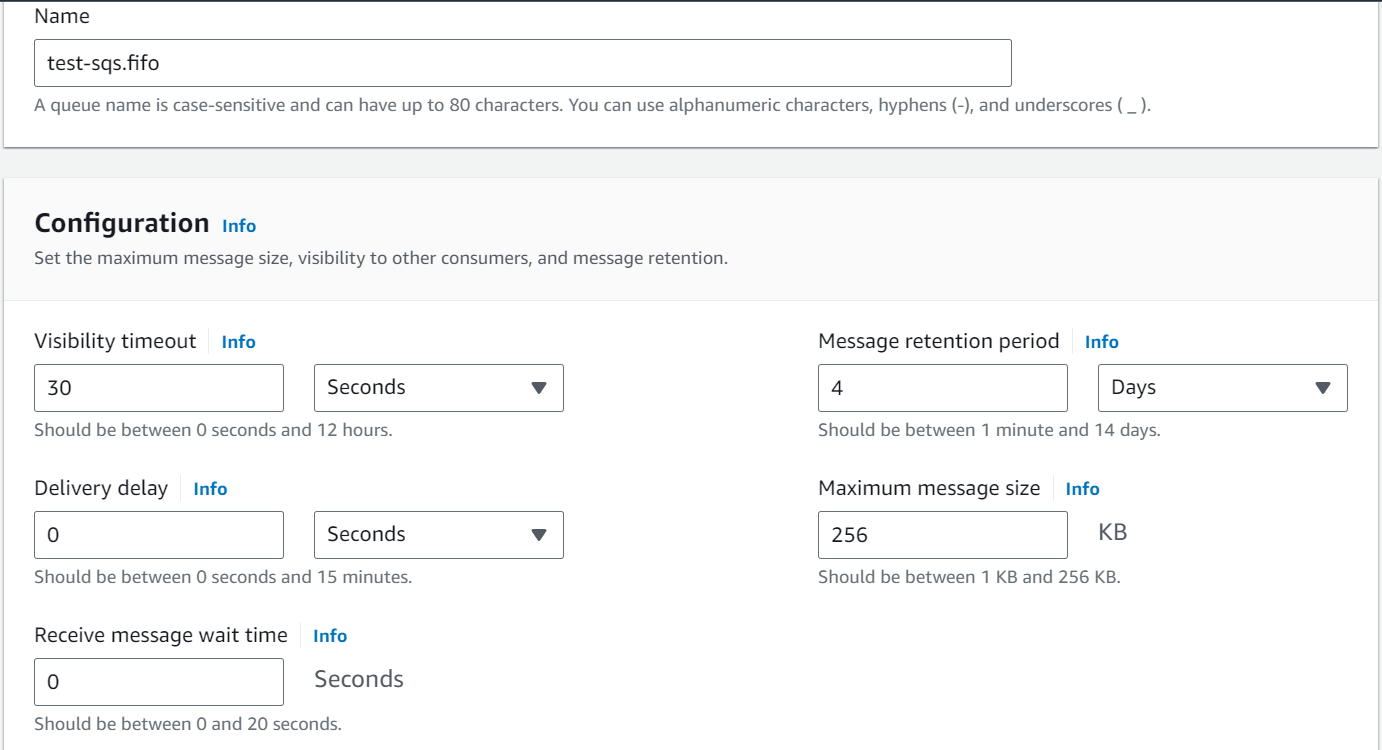
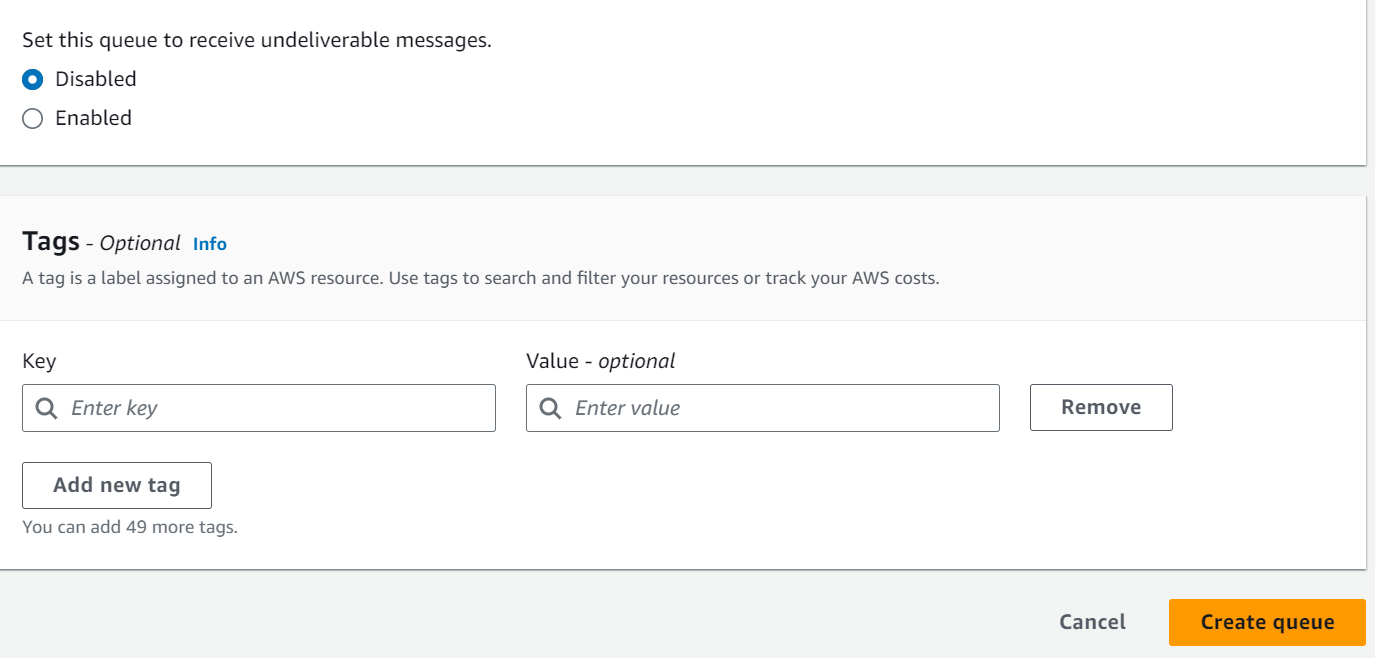
Amazon Simple Queue Service (SQS) can be used to trigger an AWS Lambda function when a message is placed in an SQS queue. This is a common way to build scalable and distributed serverless applications. Here are the steps to set up an AWS Lambda function triggered by an SQS queue using the AWS Management Console:
Sign in to the AWS Management Console:
Log in to your AWS account using your credentials.
Open Lambda Service:
– Type “Lambda” in the AWS Management Console search bar.
– Click on “Lambda” under the “Services” section.
1.Create a Lambda Function (if not already created):
If you don’t already have a Lambda function, you need to create one.
– Click on the “Create function” button.
– Select “Author from scratch.”
– Fill in the function name, runtime (e.g., Node.js, Python, etc.), and execution role.
– Click “Create function.”
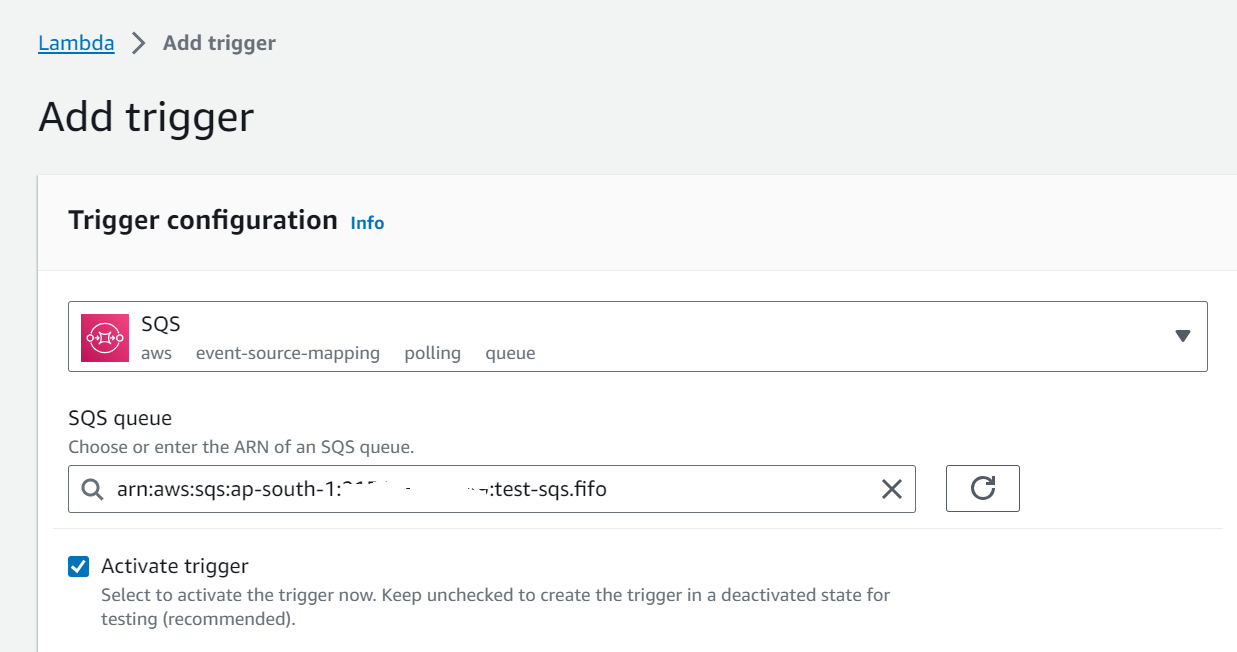
2.Configure SQS Trigger:
– Scroll down to the “Add triggers” section.
– Click “Add trigger.”
– In the “Add triggers” configuration panel, search for and select “SQS” as the trigger source.
– In the “SQS Queue” dropdown, select the SQS queue you want to use to trigger the Lambda function.
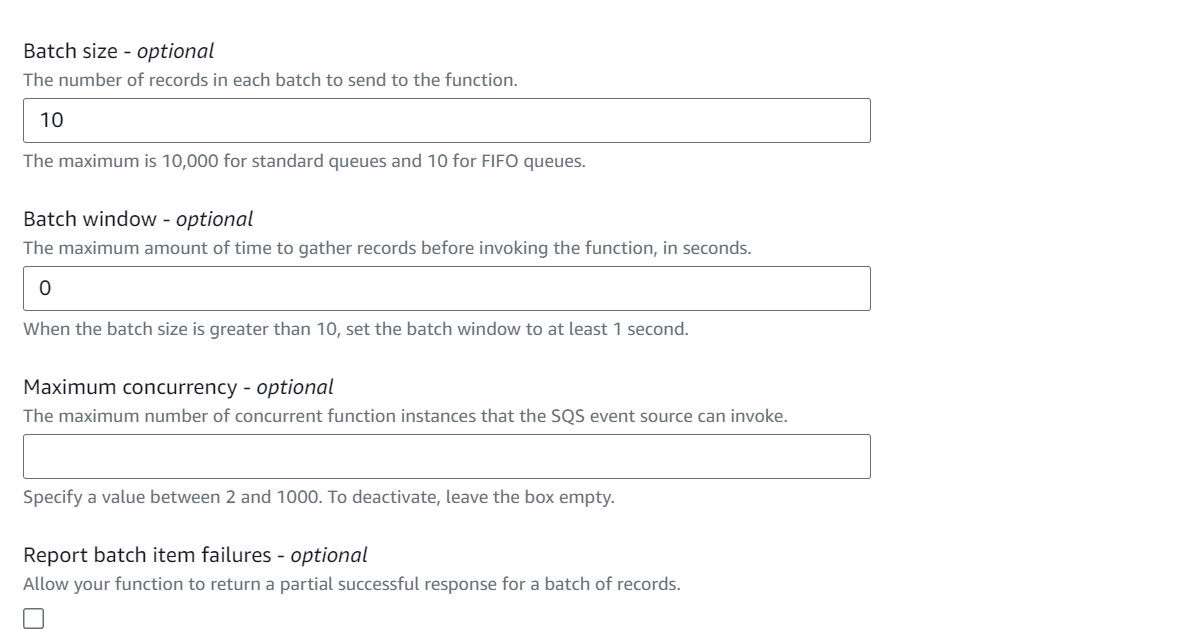
– Configure the batch size. This represents the number of messages that will be processed in a single Lambda invocation.
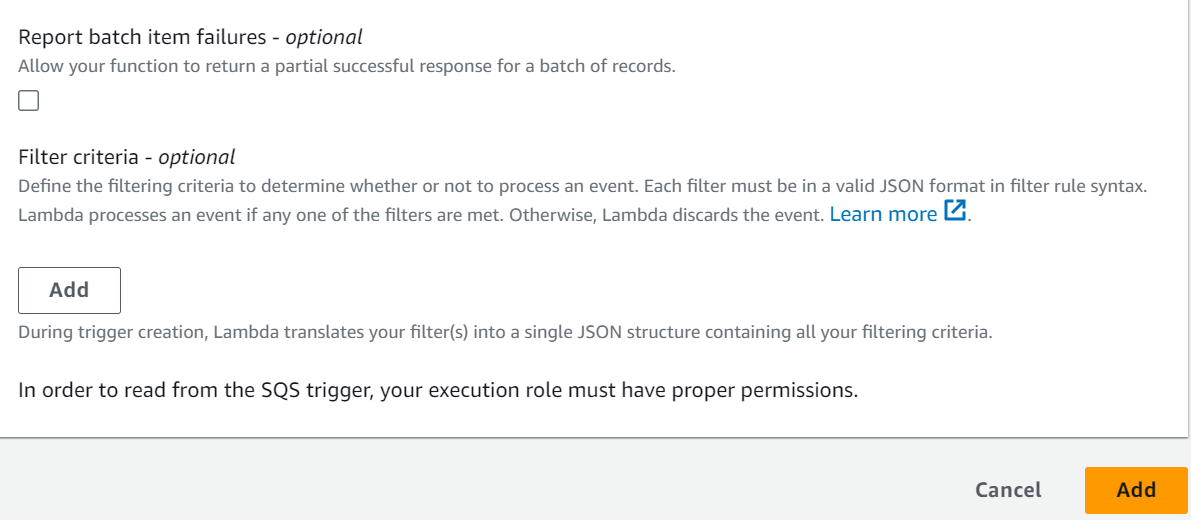
– Set other advanced settings as needed, such as function concurrency, dead-letter queue, and event source mapping.
– Click “Add.”
3.Configure Lambda Function:
– Configure your Lambda function to process the SQS event.
– This typically involves writing code within the Lambda function to handle the event data (SQS messages).
4.Save the Lambda Function:
– After configuring the Lambda function, click “Save” to apply the changes.
5.Test the Setup:
– Send a message to the configured SQS queue.
– The Lambda function should be triggered, and you can monitor the execution using the AWS Lambda monitoring and logs.
6.Monitoring:
– You can monitor the function’s execution by reviewing the logs in the Lambda function’s monitoring tab.
– You can also monitor the number of messages in the SQS queue and the number of messages processed by the Lambda function.
7.Clean Up (Optional):
If you no longer need the SQS trigger, you can remove it by deleting the trigger in the Lambda function’s configuration.
Keep in mind that proper IAM roles and policies should be in place for both the Lambda function and the SQS queue to allow them to interact. This is an important part of AWS security. The Lambda function should have permission to execute the SQS function.
The AWS Management Console provides an easy way to create an SQS trigger for an AWS Lambda function and test it by sending messages to the configured SQS queue. Once set up, the Lambda function will be triggered whenever a message is placed in the SQS queue.
Cloudwatch
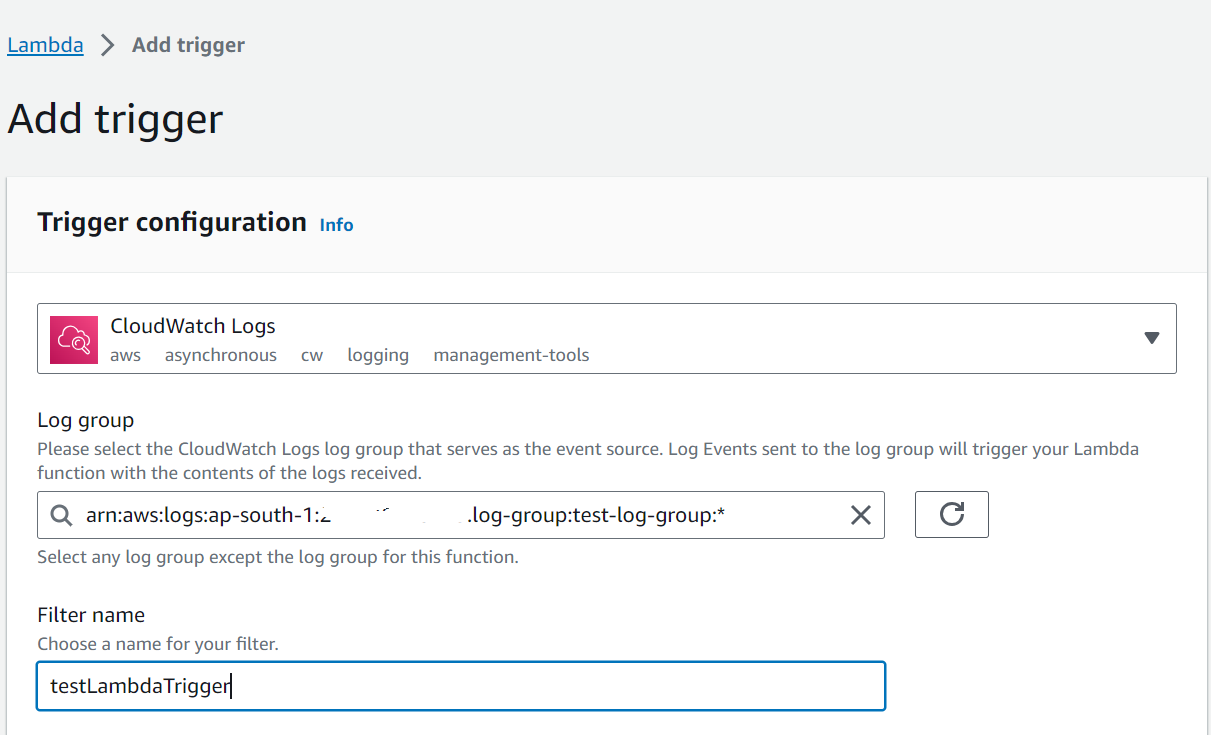
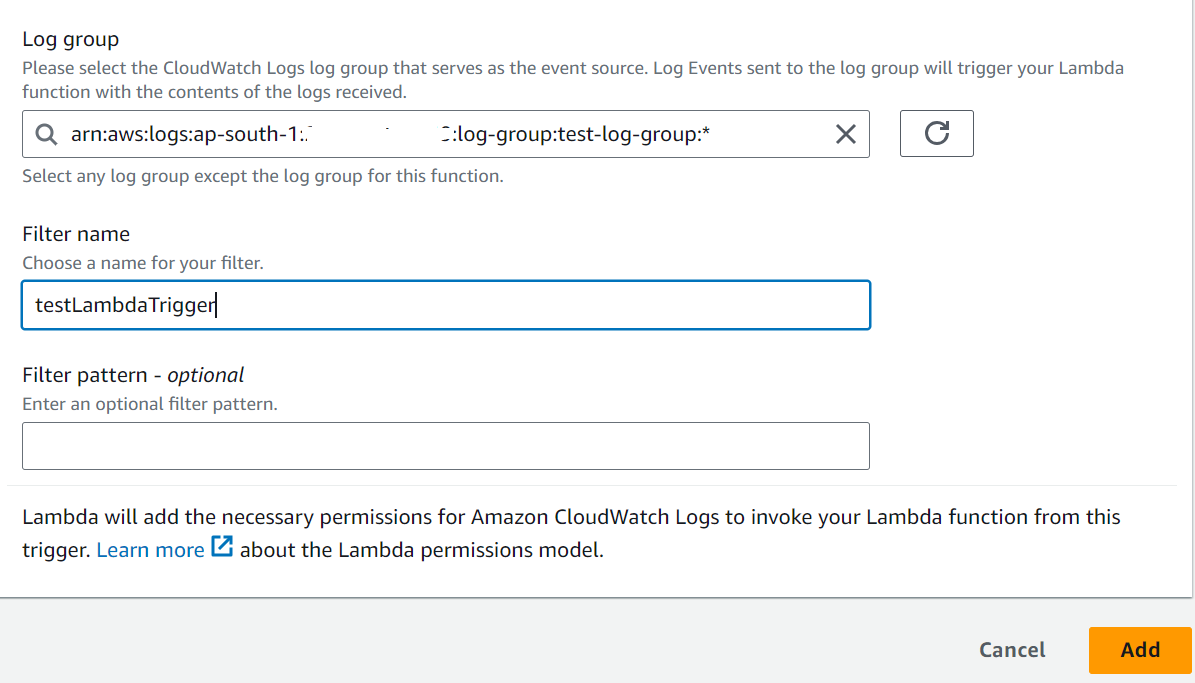
AWS Lambda can be triggered by CloudWatch Logs when log groups meet specific filter criteria. Here’s how to set up an AWS Lambda function triggered by CloudWatch Logs using the AWS Management Console:
Sign in to the AWS Management Console:
Log in to your AWS account using your credentials.
1.Open CloudWatch Service:
– Type “CloudWatch” in the AWS Management Console search bar.
– Click on “CloudWatch” under the “Services” section.
2.Create a New Log Group:
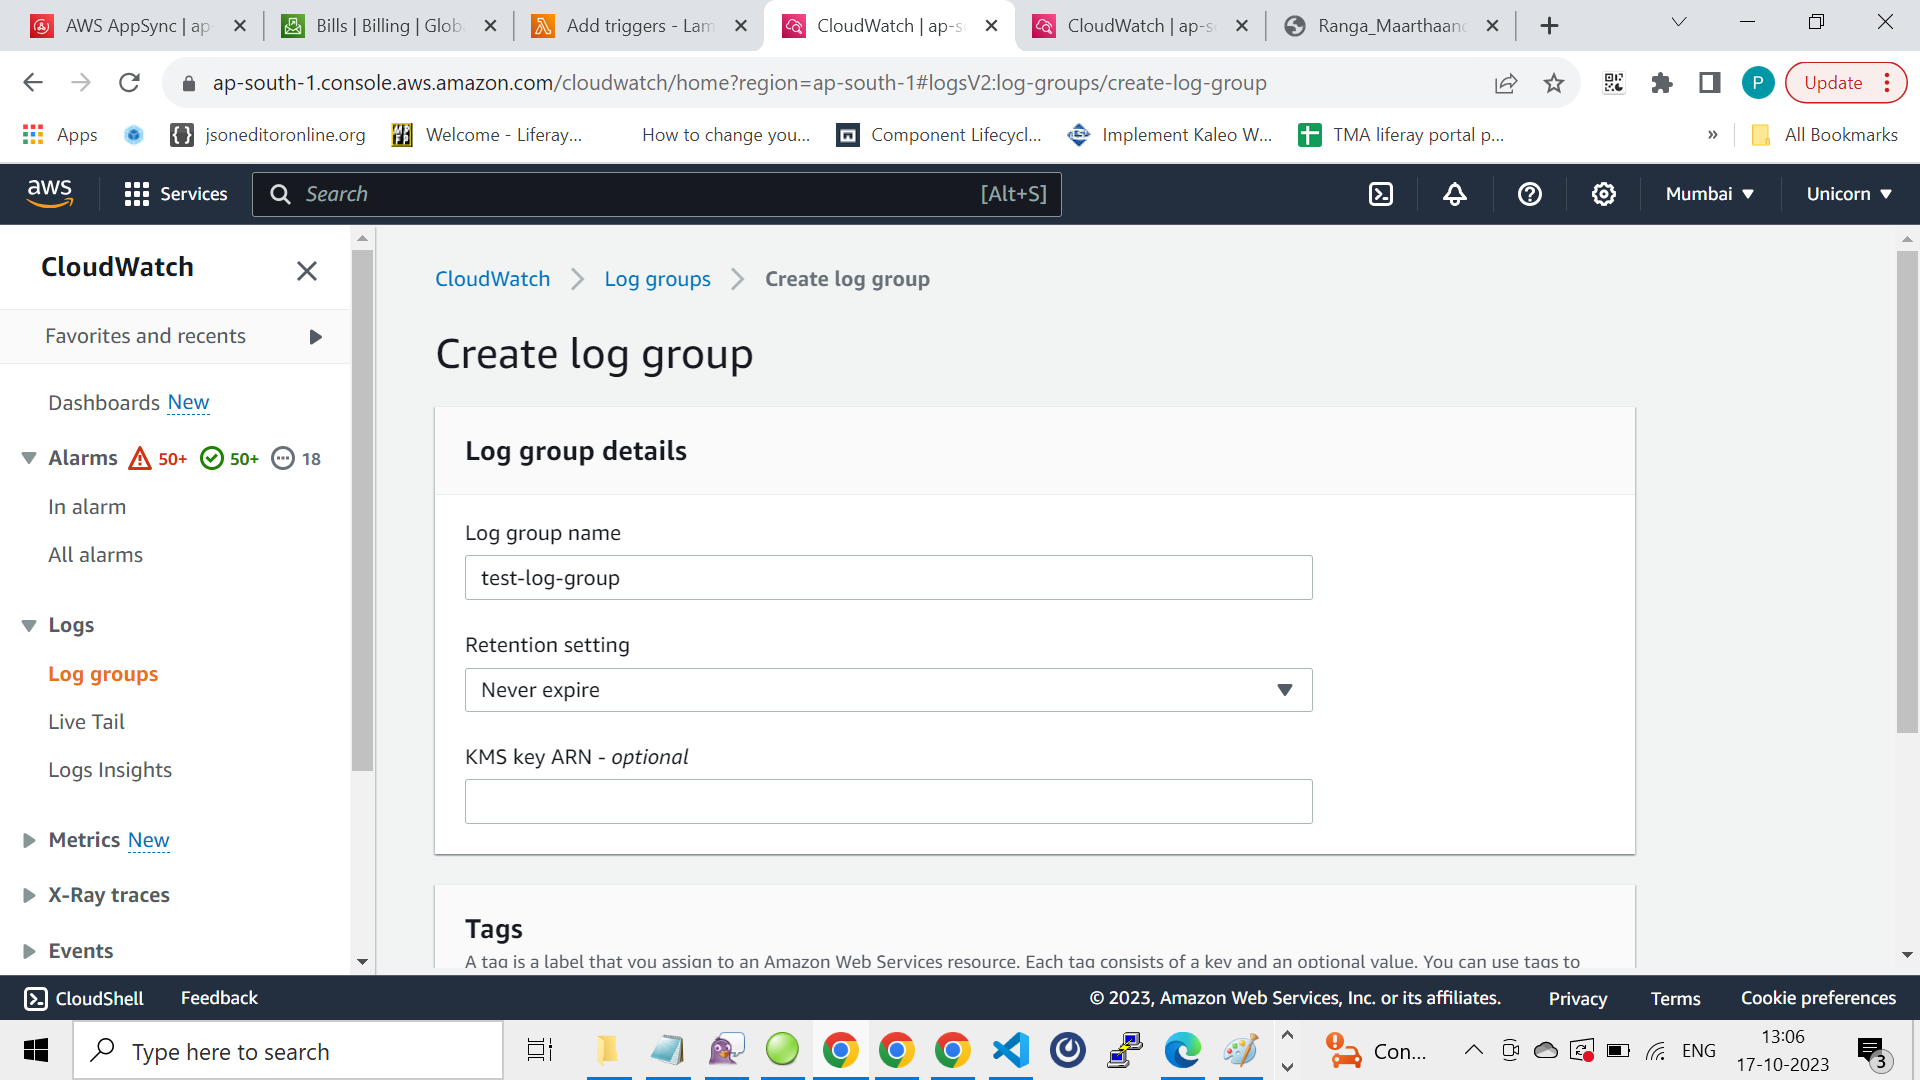
– In the CloudWatch console, navigate to the left sidebar and select “Log groups” under “Logs.”
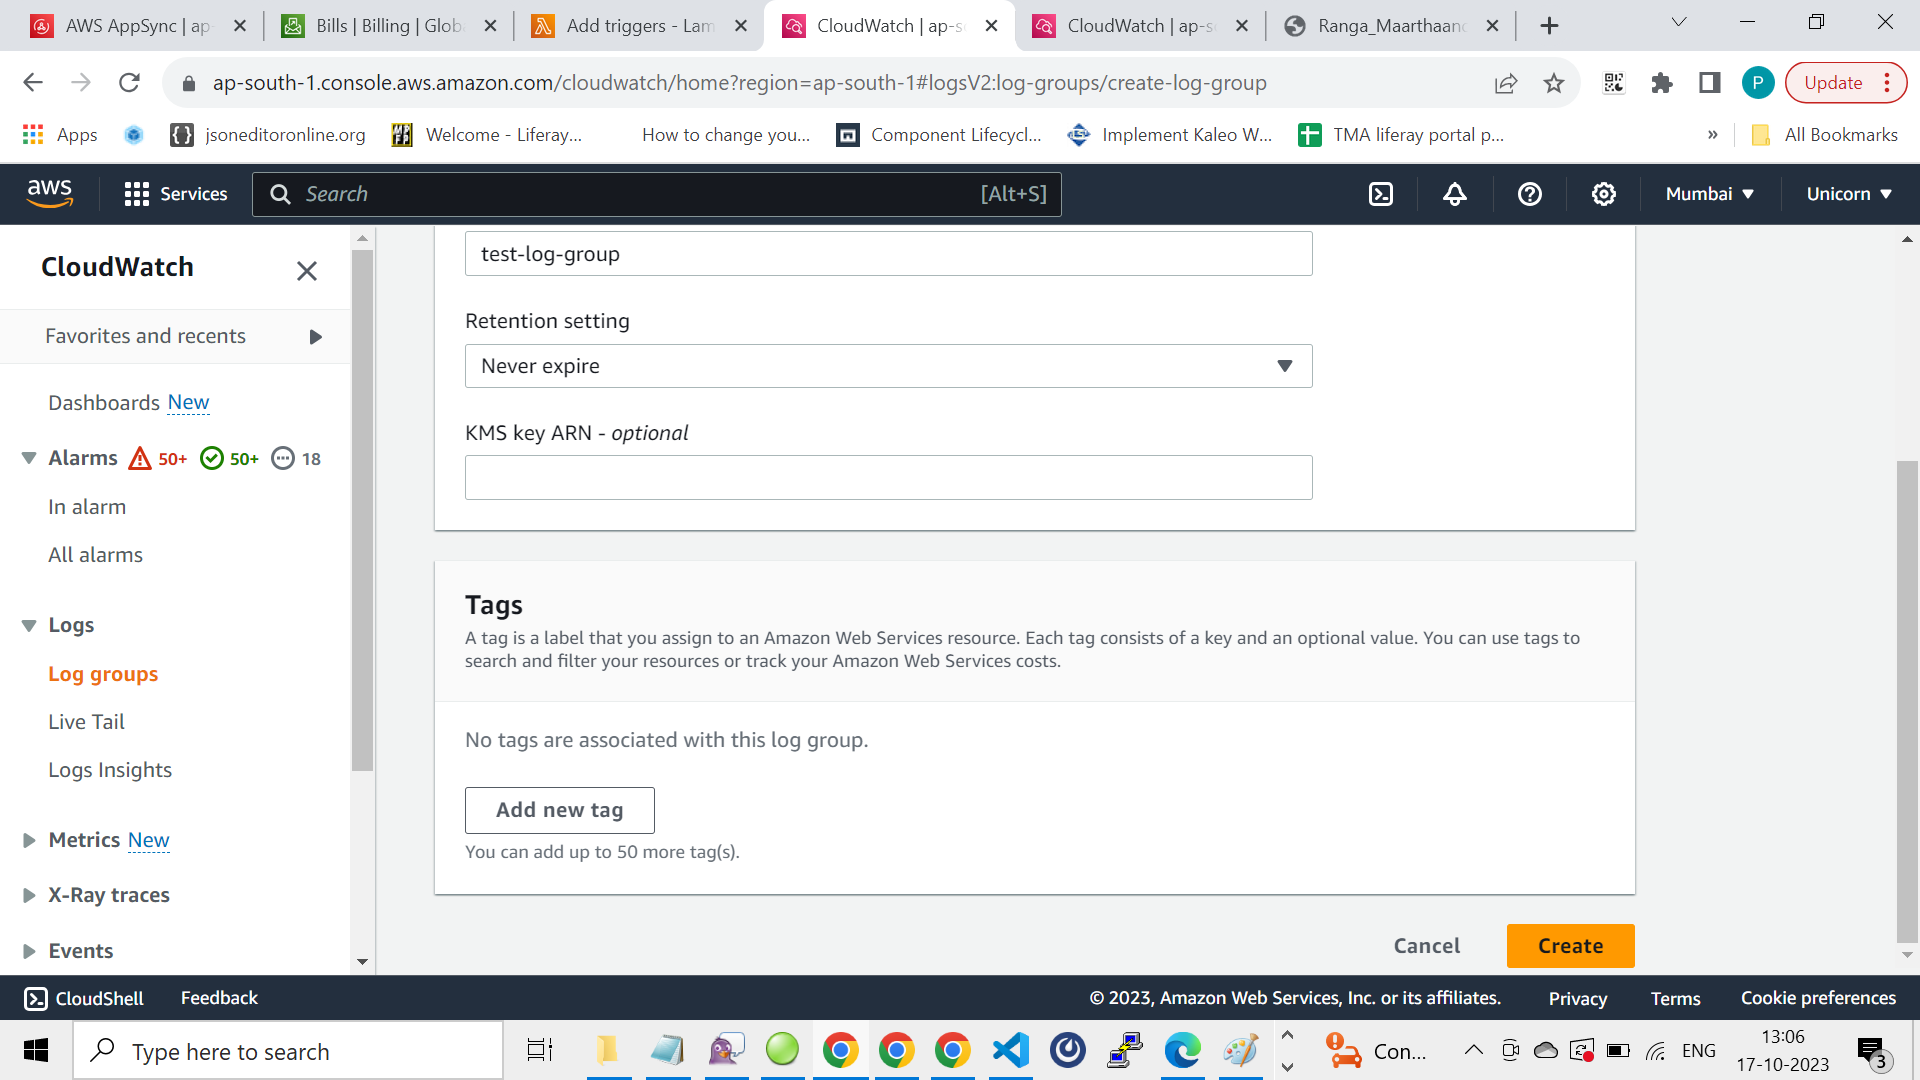
– Click the “Create log group” button.
– Give your log group a name and click “Create.”
3.Create Log Stream (Optional):
– Inside the newly created log group, you can create a log stream by clicking the “Create log stream” button.
– Log streams help organize log data. You can name your log stream, and AWS will automatically create log streams as new logs are generated.
4.Set Up Lambda Trigger:
– Navigate back to the CloudWatch console’s main page.
– In the left sidebar, click on “Rules” under “Logs.”
– Click the “Create rule” button.
5.Define the Event Source:
– In the “Create Rule” wizard, under “Event Source,” select “Event Source” as “Event Source,” and choose “Logs.”
6.Configure the Event Details:
– In the “Create Rule” wizard, under “Event Source,” configure the filter for your log data. You can specify log groups and apply filter patterns. The filter pattern is a required field and determines when the rule triggers. For example, you can use filter patterns to match specific log entries.
– After configuring the event details, click “Add target.”
7.Configure Target:
– In the “Configure target” section, select “Lambda function” as the target type.
– In the “Function” dropdown, choose the Lambda function you want to trigger.
– Configure other target-specific settings based on your requirements.
8.Review and Create:
– Review the configuration details to ensure they are correct.
– Click “Create rule” to create the CloudWatch Events rule.
9.Monitoring and Testing:
– The CloudWatch console allows you to monitor the status of your rule and its executions.
– You can also test the rule manually by sending logs that match the filter pattern to the log group.
10.Clean Up (Optional):
– If you no longer need the event trigger, you can delete the CloudWatch Events rule from the CloudWatch console.
Once set up, the Lambda function will be triggered by CloudWatch Logs when log entries match the defined filter criteria. This integration can be helpful for responding to specific events or log entries in your applications. Make sure that the appropriate IAM roles and policies are in place to allow the rule to trigger the Lambda function and that the Lambda function handles the incoming log data as needed.
S3 (Simple Storage Service)
AWS Lambda can be triggered by Amazon S3 events. When objects are created, updated, or deleted in an S3 bucket, Lambda functions can automatically respond to those events. Here’s how to set up an AWS Lambda function triggered by S3 events using the AWS Management Console:
1.Sign in to the AWS Management Console:
– Log in to your AWS account using your credentials.
2.Open Lambda Service:
– Type “Lambda” in the AWS Management Console search bar.
– Click on “Lambda” under the “Services” section.
3.Create a Lambda Function:
– If you don’t have a Lambda function already, click the “Create function” button.
– Choose the “Author from scratch” option or use a blueprint if it fits your needs.
– Configure your function, including its name, runtime, and execution role, based on your requirements. Lambda execution roles should have permissions to read/write from/to your S3 bucket.
4.Define Function Code:
– In the “Function code” section, you can write or upload the code for your Lambda function.
5.Set Up an S3 Trigger:
– In the “Designer” section of your Lambda function, click “Add trigger.”
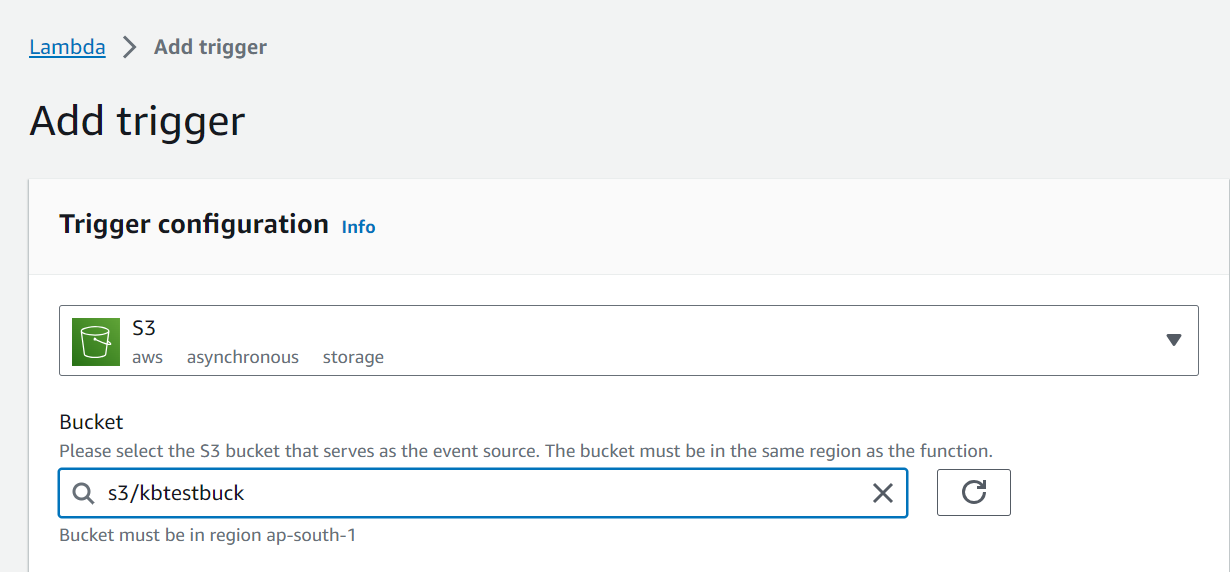
– In the “Trigger configuration” section:
– In the “Trigger” dropdown, select “S3.”
– In the “Bucket” dropdown, select the S3 bucket that will trigger the Lambda function.
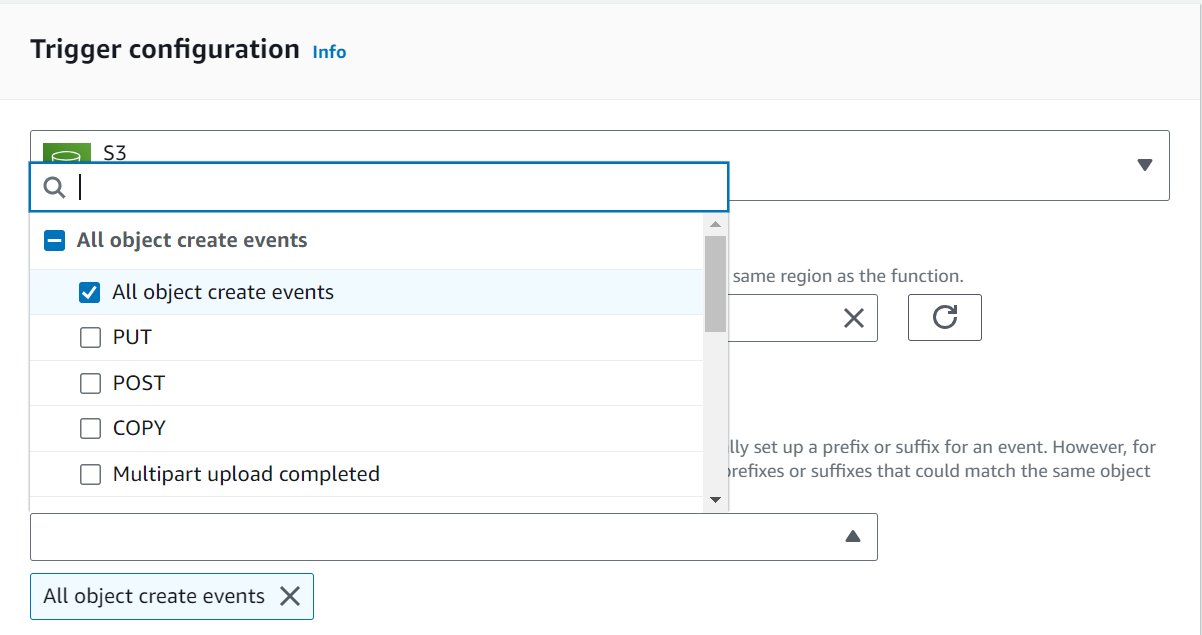
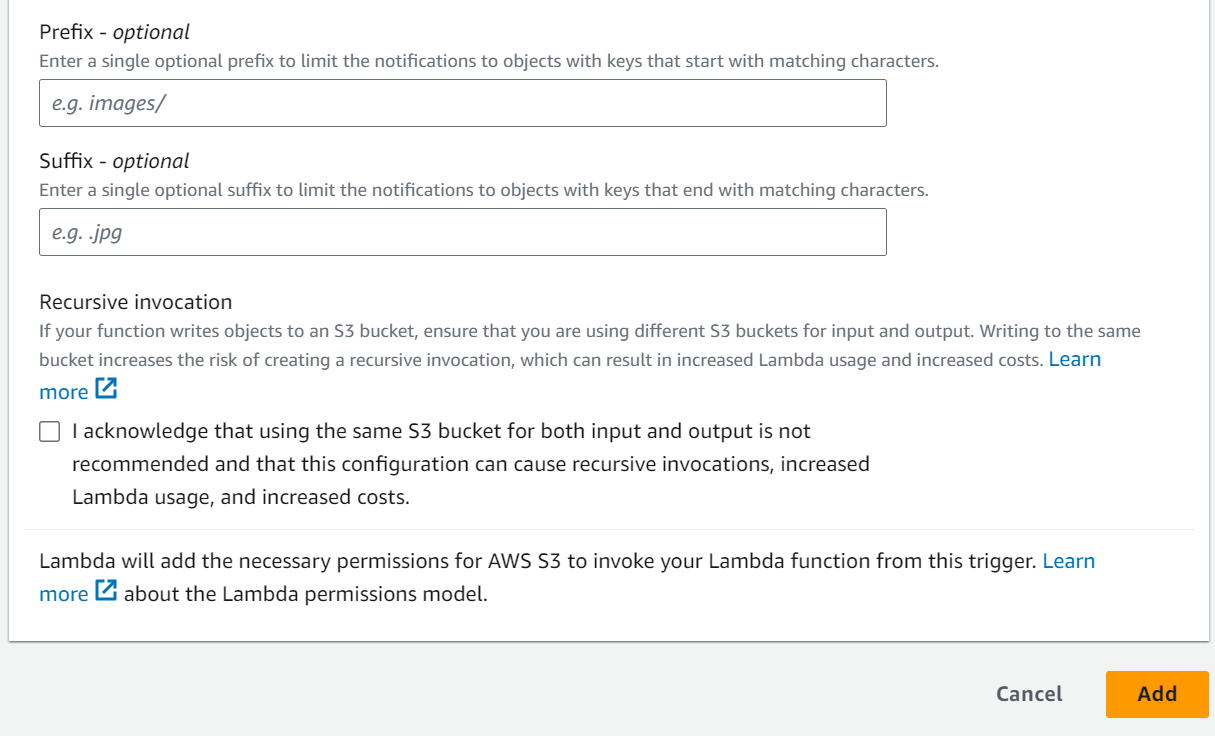
– In the “Event type” dropdown, choose the type of event that should trigger the Lambda function. You can choose from options like “All object create events,” “All object delete events,” etc.
– In the “Prefix” and “Suffix” fields, you can define additional filtering criteria based on object names.
6.Configure Function:
– In the “Function” section, choose the Lambda function you created earlier.
– You can choose or create a new role for Lambda to execute the function. The role should have the necessary permissions for both Lambda and S3.
7.Create Trigger:
– Click the “Add” button to add the trigger to your Lambda function.
8.Monitoring and Testing:
– You can monitor your Lambda function’s executions in the AWS Lambda console. Logs and metrics are available to help you track function invocations and performance.
– You can also manually test the function by creating, updating, or deleting objects in the specified S3 bucket.
9.Clean Up (Optional):
– If you no longer need the S3 trigger, you can remove it from the Lambda function configuration.
Once set up, the Lambda function will automatically execute when events matching the specified S3 trigger conditions occur. This allows you to perform actions like processing or transforming files when they are added or updated in your S3 bucket, making it useful for tasks like data processing, image optimization, or backup automation. Make sure your Lambda function handles S3 events effectively based on your application requirements.
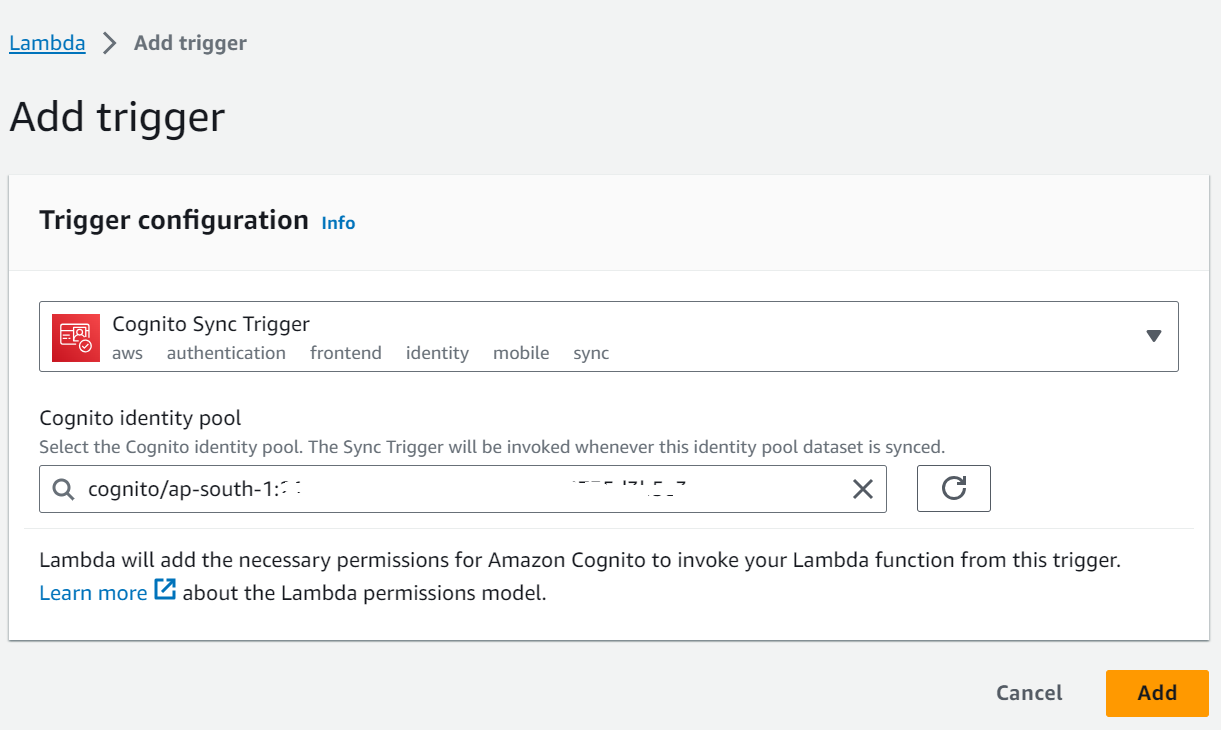
Cognito Sync Trigger
AWS Lambda Cognito Sync triggers allow you to execute AWS Lambda functions when user data in Amazon Cognito is synchronized. These triggers are useful when you need to run custom logic in response to changes in user profiles or data. Below are the steps to create an AWS Lambda Cognito Sync trigger using the AWS Management Console:
1.Sign in to the AWS Management Console:
– Log in to your AWS account using your credentials.
2.Open Lambda Service:
– Type “Lambda” in the AWS Management Console search bar.
– Click on “Lambda” under the “Services” section.
3.Create a Lambda Function:
– If you don’t have a Lambda function already, click the “Create function” button.
– Choose the “Author from scratch” option or use a blueprint if it fits your needs.
– Configure your function, including its name, runtime, and execution role, based on your requirements. Lambda execution roles should have permissions to read/write data from Amazon Cognito.
4.Define Function Code:
– In the “Function code” section, you can write or upload the code for your Lambda function.
5.Set Up a Cognito Sync Trigger:
– In the “Designer” section of your Lambda function, click “Add trigger.”
– In the “Trigger configuration” section:
– In the “Trigger” dropdown, select “Cognito Sync Trigger.”
6.Configure Cognito Sync Trigger:
– Configure the trigger based on your Cognito identity pool settings:
– In the “Identity pool” dropdown, select the identity pool for which you want to create a trigger.
– In the “Trigger function” dropdown, select the Lambda function you created earlier.
– In the “Trigger type” dropdown, choose “Pre Sign-up,” “Pre Authentication,” or “User Migration” based on your specific use case.
7.Save the Trigger:
– Click the “Add trigger” button to add the Cognito Sync trigger to your Lambda function.
8.Monitoring and Testing:
– You can monitor your Lambda function’s executions in the AWS Lambda console. Logs and metrics are available to help you track function invocations and performance.
– To test the Lambda function, you may need to perform actions in your Cognito identity pool that trigger the selected trigger type.
9.Clean Up (Optional):
– If you no longer need the Cognito Sync trigger, you can remove it from the Lambda function configuration.
Once the Cognito Sync trigger is set up, the Lambda function will automatically execute when Cognito user data is synchronized based on the trigger type you selected. This allows you to customize user data handling and perform specific actions before or after certain Cognito events like sign-up or authentication. Make sure your Lambda function effectively handles the trigger events according to your application’s requirements.
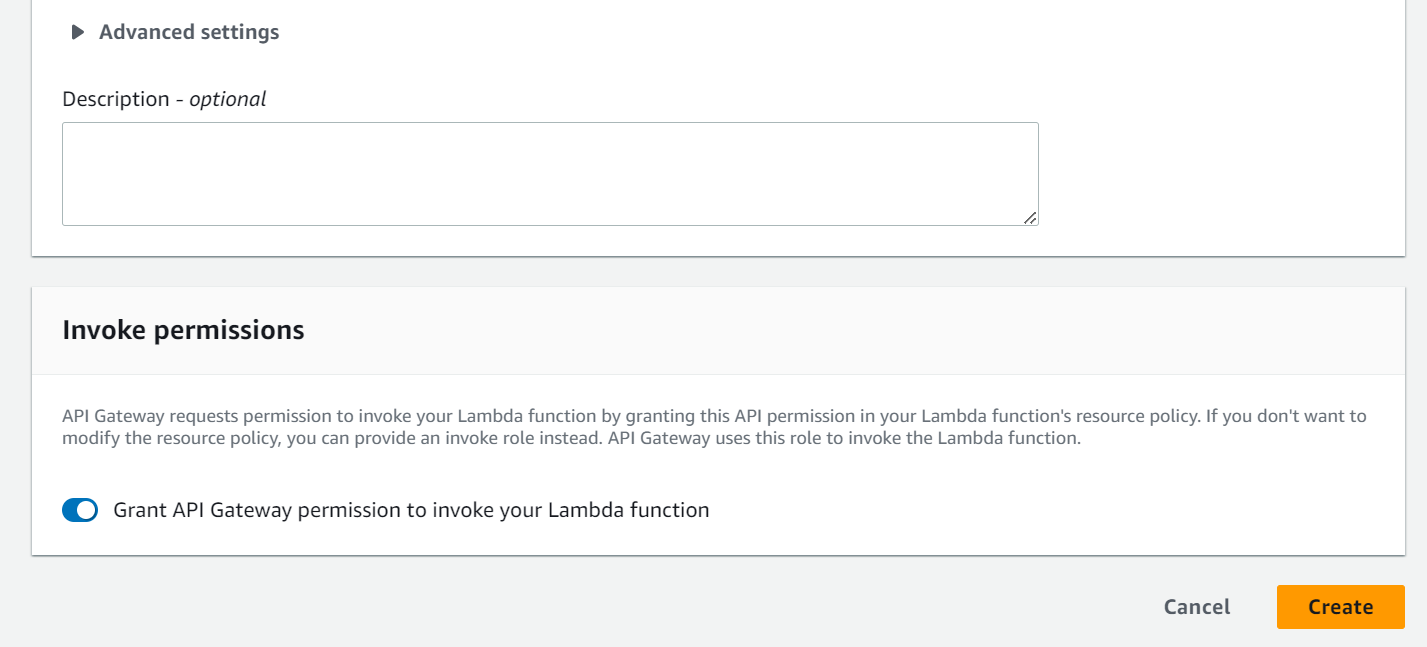
API Gateway
Amazon API Gateway with AWS Lambda as a trigger allows you to create RESTful APIs that execute AWS Lambda functions in response to HTTP requests. Here’s a detailed guide on how to create an AWS API Gateway with an AWS Lambda trigger using the AWS Management Console:
1.Sign in to the AWS Management Console:
– Log in to your AWS account using your credentials.
2.Open API Gateway Service:
– In the AWS Management Console, type “API Gateway” in the search bar.
– Click on “API Gateway” under the “Services” section.
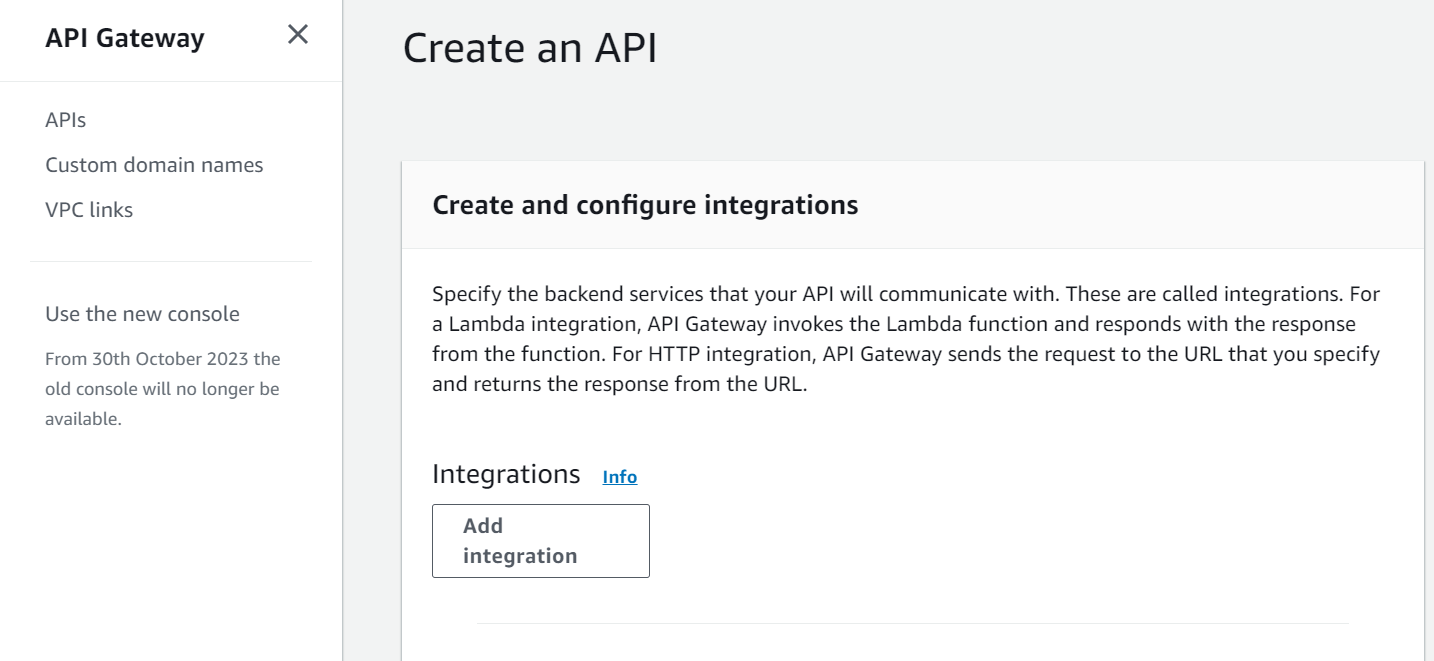
3.Create a New API:
– If you haven’t created an API yet, click the “Create API” button.
– Choose the “HTTP API” or “REST API” type based on your requirements.
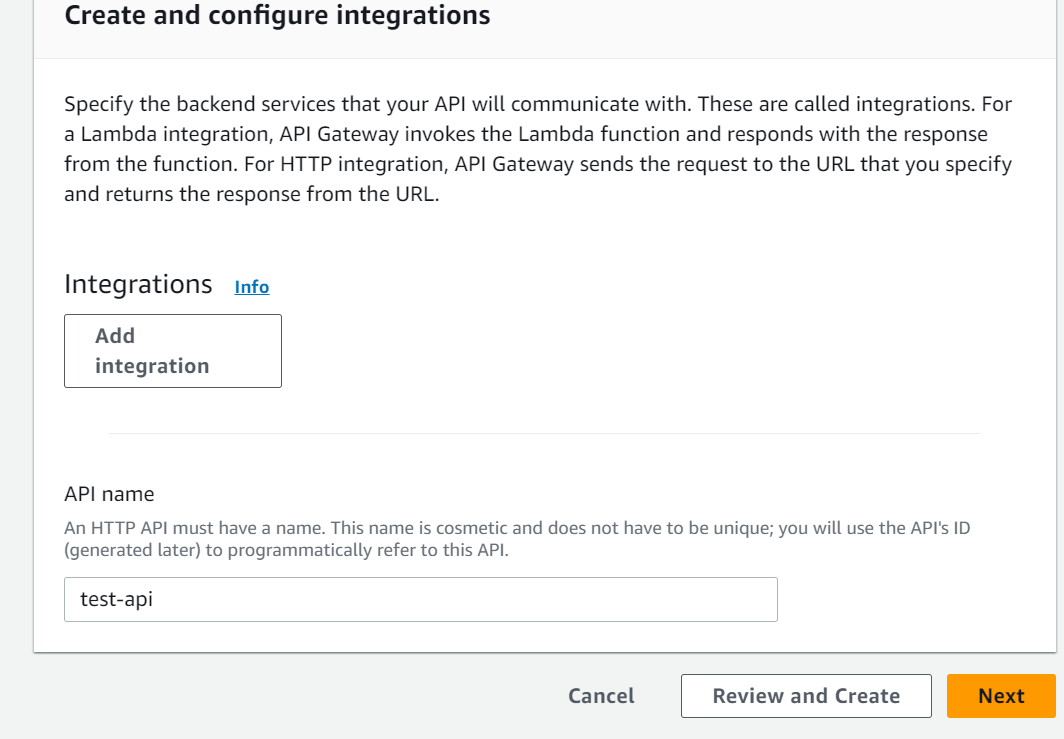
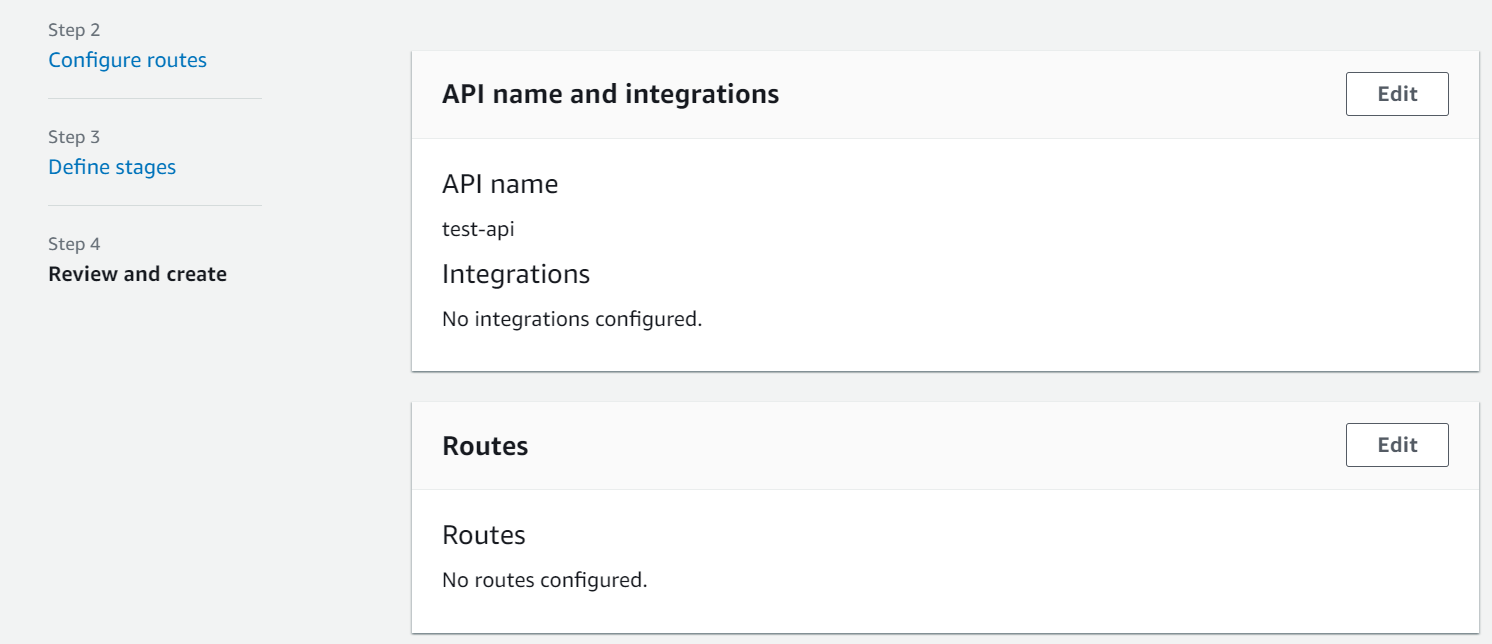
4.Set Up Your API:
– Configure your API settings, including name, description, endpoint type, and CORS (Cross-Origin Resource Sharing) settings.
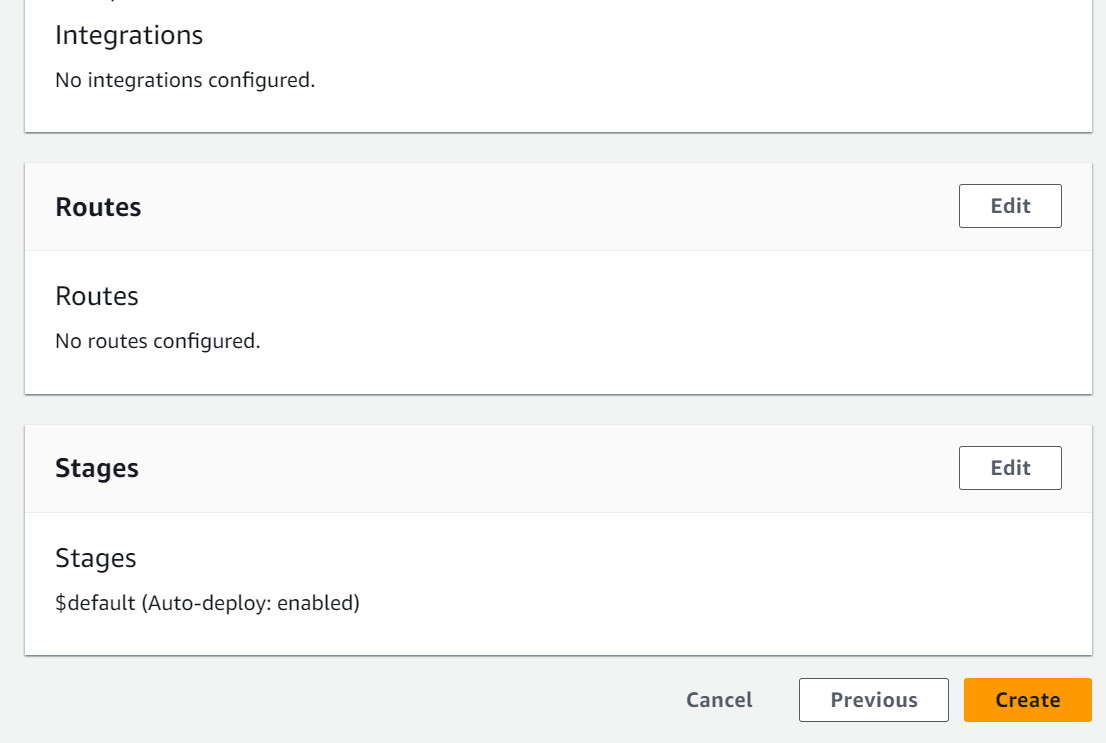
– Click the “Create API” button to create your API.
5.Create a Resource:
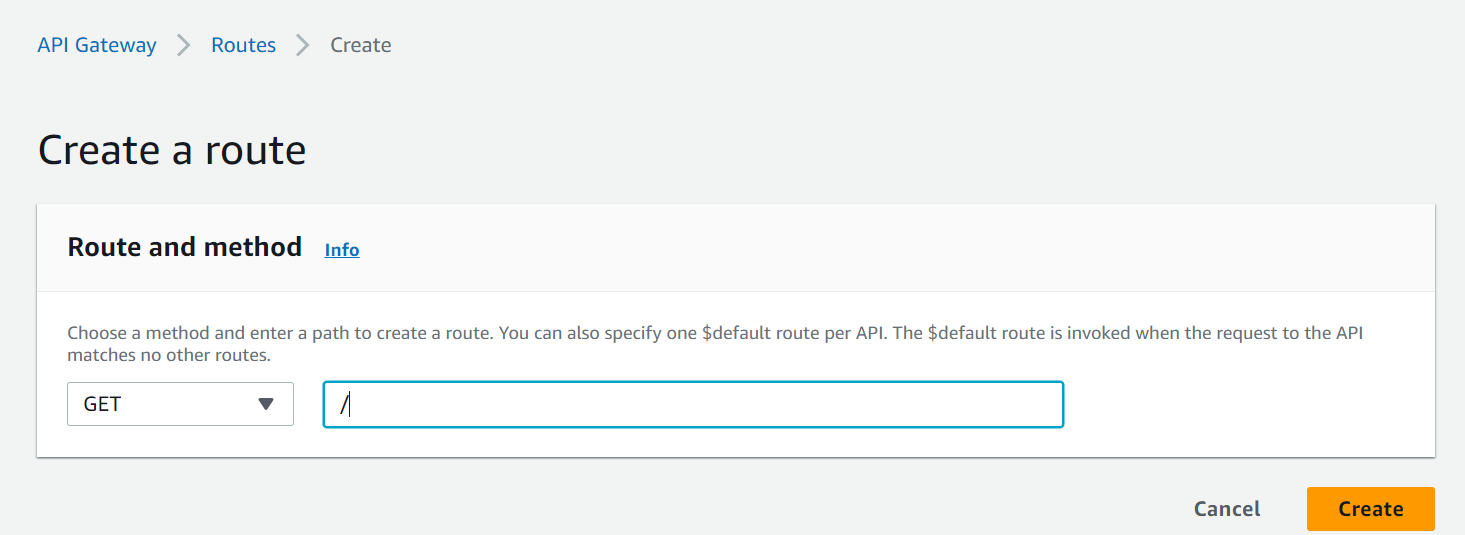
– Inside your API, click on “Create” under the “Resources” section.
– Create a new resource and configure it as needed. This represents a part of your API’s URL structure.
6.Create a Method:
– Select the resource you just created.
– Click “Create Method” to define the HTTP method (GET, POST, etc.) you want to use for your endpoint.
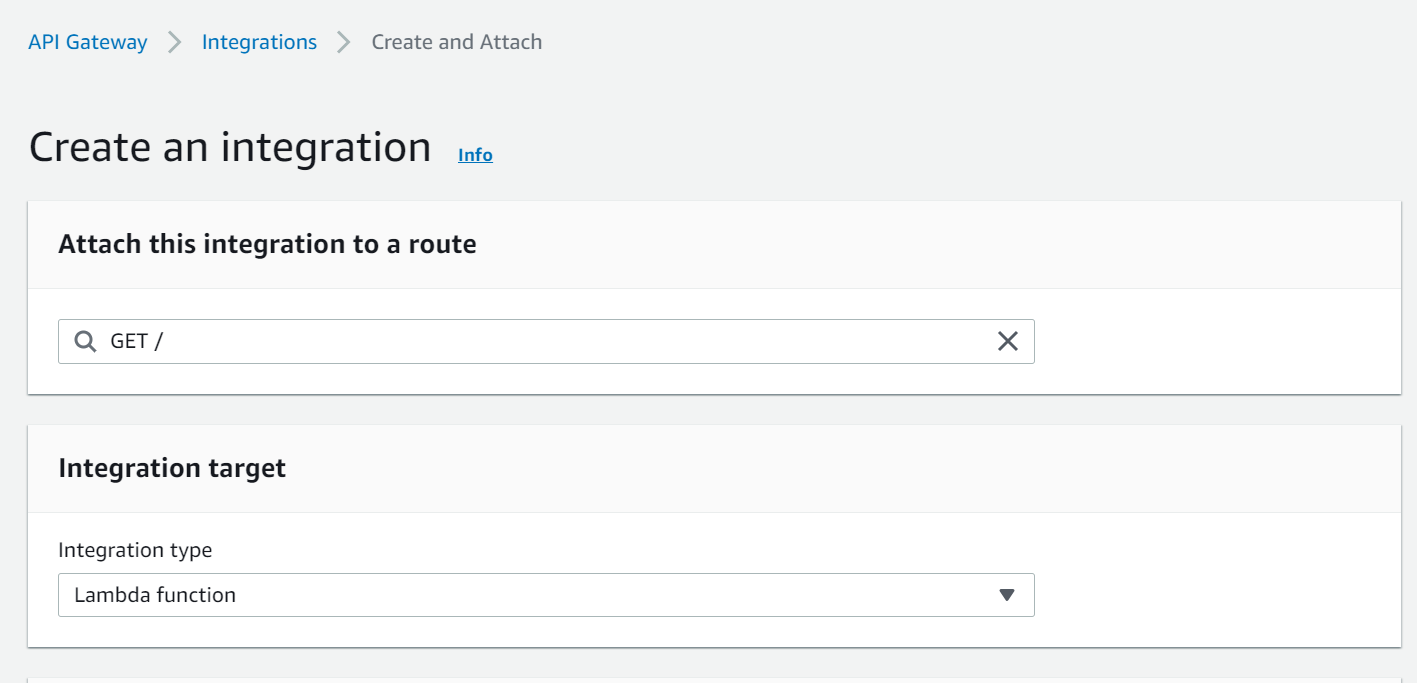
– Configure the method to use “Lambda Function” as the integration type.
7.Configure Lambda Integration:
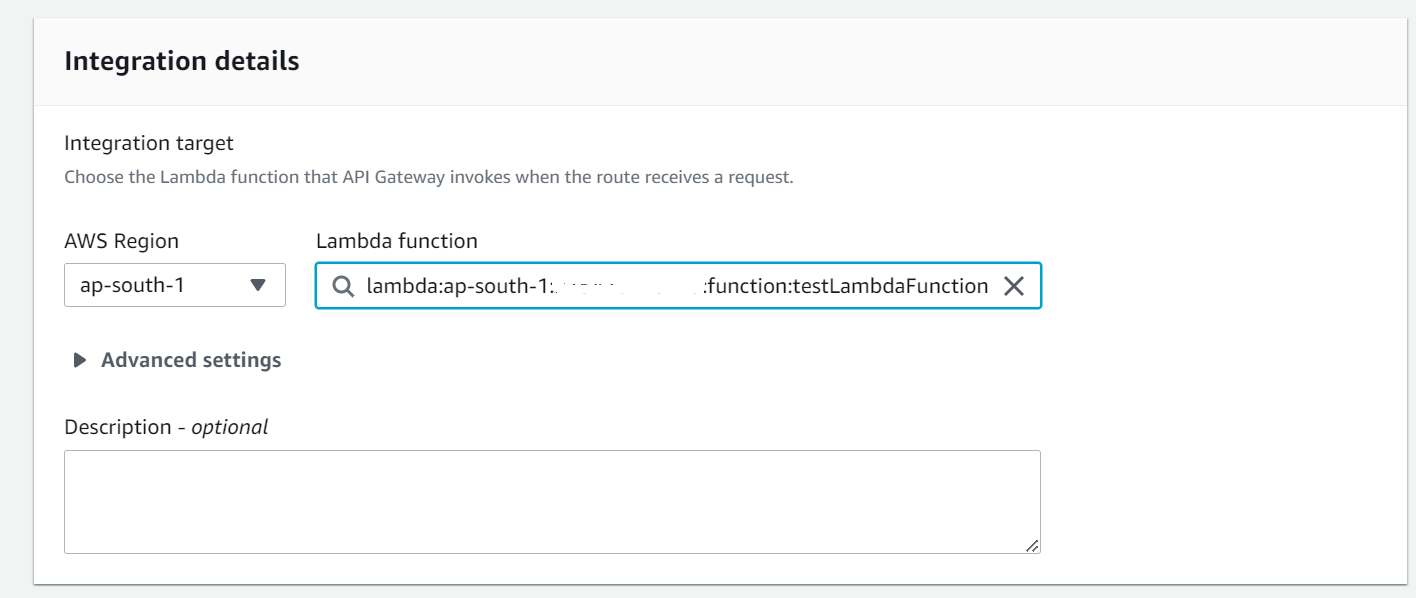
– In the method setup, choose “Lambda Function” as the integration type.
– Select the AWS Lambda function that you want to trigger from the list of available functions.
– Configure the “Lambda Proxy Integration” if you want to pass the entire request to the Lambda function.
– Save your configuration.
8.Set Up Method Execution:
– Click on the “Method Request” and “Integration Request” options to configure input and output mapping, request and response models, and parameters as needed.
– Configure security and request validation options, including API key or AWS Identity and Access Management (IAM) permissions.
9.Deploy the API:
– Click on “Deploy API” under the “Actions” menu.
– Choose or create a deployment stage where your API will be deployed.
– You will get an invoke URL for your API, which can be used to make HTTP requests.
10.Testing and Monitoring:
– You can test your API directly from the API Gateway console or use tools like Postman or cURL.
– Monitoring and logging features are available to help you track API requests, troubleshoot issues, and gather metrics.
11.Secure Your API (Optional):
– You can add authentication and authorization mechanisms to secure your API endpoints.
– Configure API Gateway’s built-in features or use an Amazon Cognito user pool or IAM roles for more advanced security.
12.Custom Domain Name (Optional):
– If needed, you can set up a custom domain name for your API using AWS Certificate Manager and Route 53.
13.Scaling and Optimizing:
– Depending on your expected traffic and usage patterns, you can optimize your API’s settings for performance, including caching and throttling.
By following these steps, you can create an Amazon API Gateway with an AWS Lambda trigger, allowing you to expose your Lambda functions as HTTP endpoints with a well-defined API structure. This is a powerful way to create RESTful web services, microservices, and serverless applications in AWS.
